Create an EC2 instance and install MAVEN, TOMCAT
Install Maven
Update the package index and install Maven with the below commands
sudo apt update
sudo apt install maven -y
mvn -version
java -version
The output should look something like this:

Install Tomcat
# Update the packages
sudo apt update

# Download tomcat
wget https://dlcdn.apache.org/tomcat/tomcat-9/v9.0.78/bin/apache-tomcat-9.0.78.tar.gz

# Extract Tomcat
sudo tar -xf /tmp/apache-tomcat-9.0.78.tar.gz -C /opt
Run the Tomcat
# Login as root
sudo su
cd /opt/apache-tomcat-9.0.78/bin
sh start.sh
Access the Tomcat server using <instancepublicip:8080> in a web browser
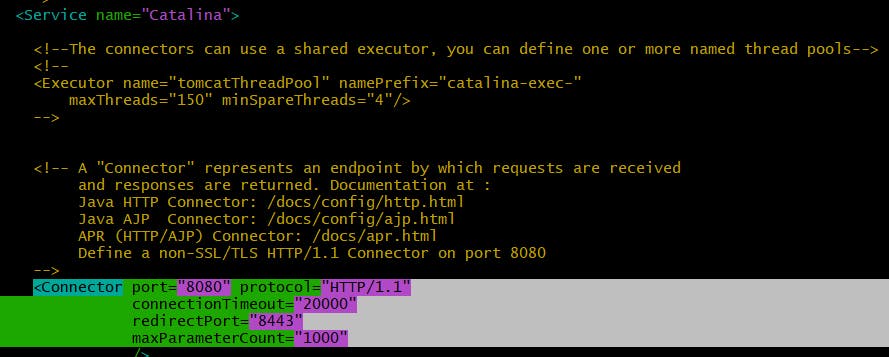
You can change the port of Tomcat in conf/server.xml if required
sudo nano /opt/apache-tomcat-9.0.78/conf/server.xml
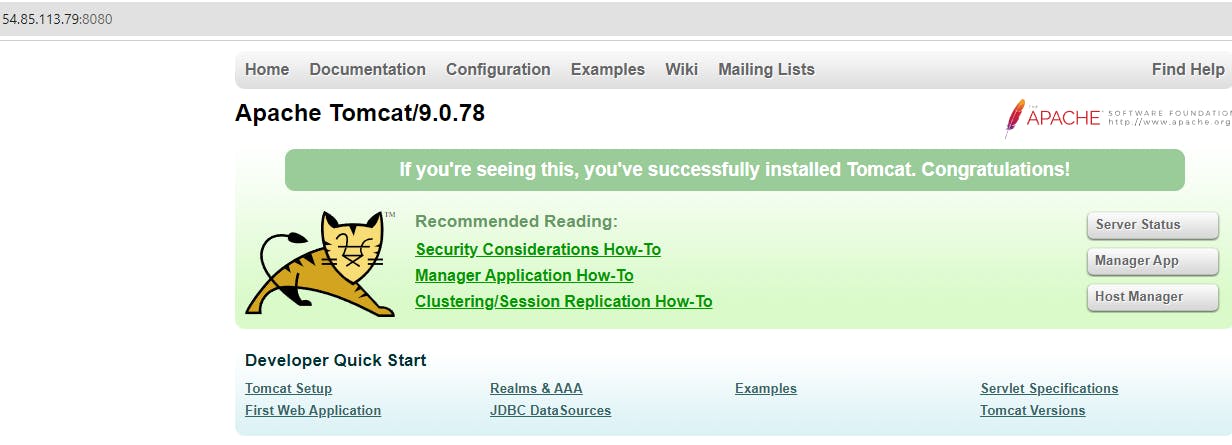
If you click on Manager App, it will throw 403 Access Denied

To fix this access issue we need to configure the context.xml file and tomcat-users.xml
sudo nano /opt/apache-tomcat-9.0.78/webapps/manager/META-INF/context.xml
Comment out the Valve ClassName Section

Configure tomcat-user.xml
sudo nano /opt/apache-tomcat-9.0.78/conf/tomcat-users.xml
Add the below roles and password
<role rolename="manager-gui" />
<user username="admin" password="password" roles="manager-gui"/>

<role rolename="manager-script"/>
<user username="admin" password="password" roles="manager-script"/>

<role rolename="admin-gui" />
<user username="admin" password="password" roles="admin-gui, manager-gui"/>

Stop the Tomcat server and start it
cd /opt/apache-tomcat-9.0.78/bin
sh shutdown.sh
sh startup.sh
Access the Tomcat server

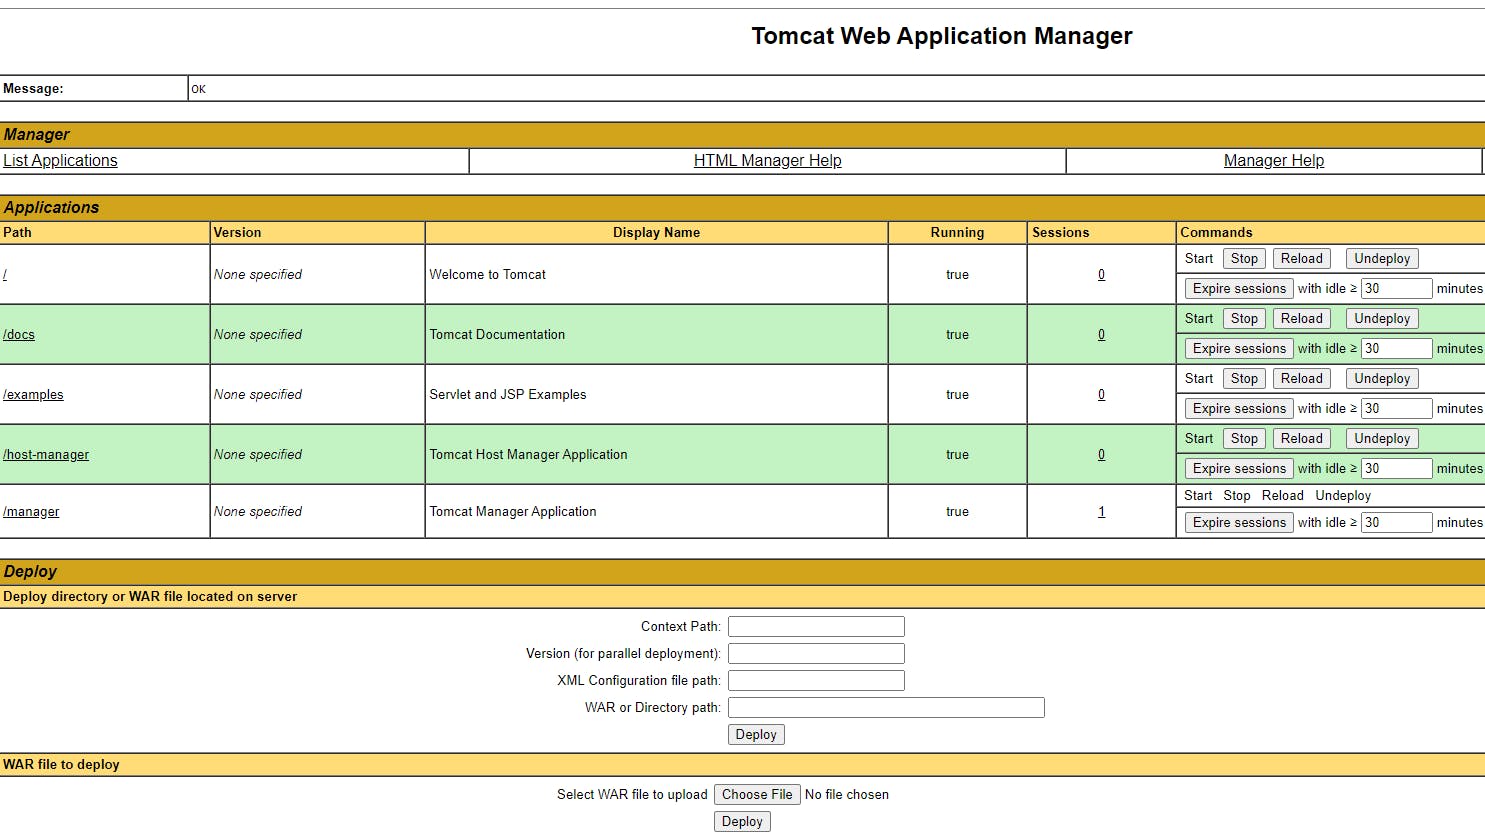
Click on Manager App
Deploy a war file in the TOMCAT
Create a new Git repo on GitHub
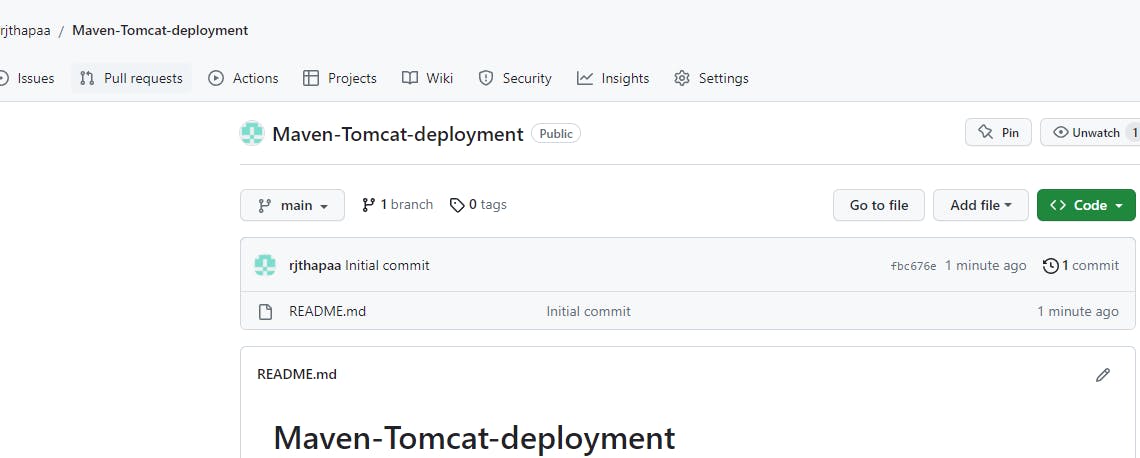
Clone to code to EC2 instance
cd /opt
git clone https://github.com/rjthapaa/Maven-Tomcat-deployment.git
cd Maven-Tomcat-deployment/
Create a Web application
mvn archetype:generate -DarchetypeGroupId=org.apache.maven.archetypes -DarchetypeArtifactId=maven-archetype-webapp -DarchetypeVersion=1.4
Provide any name for groupid, artififactid, version, and package.
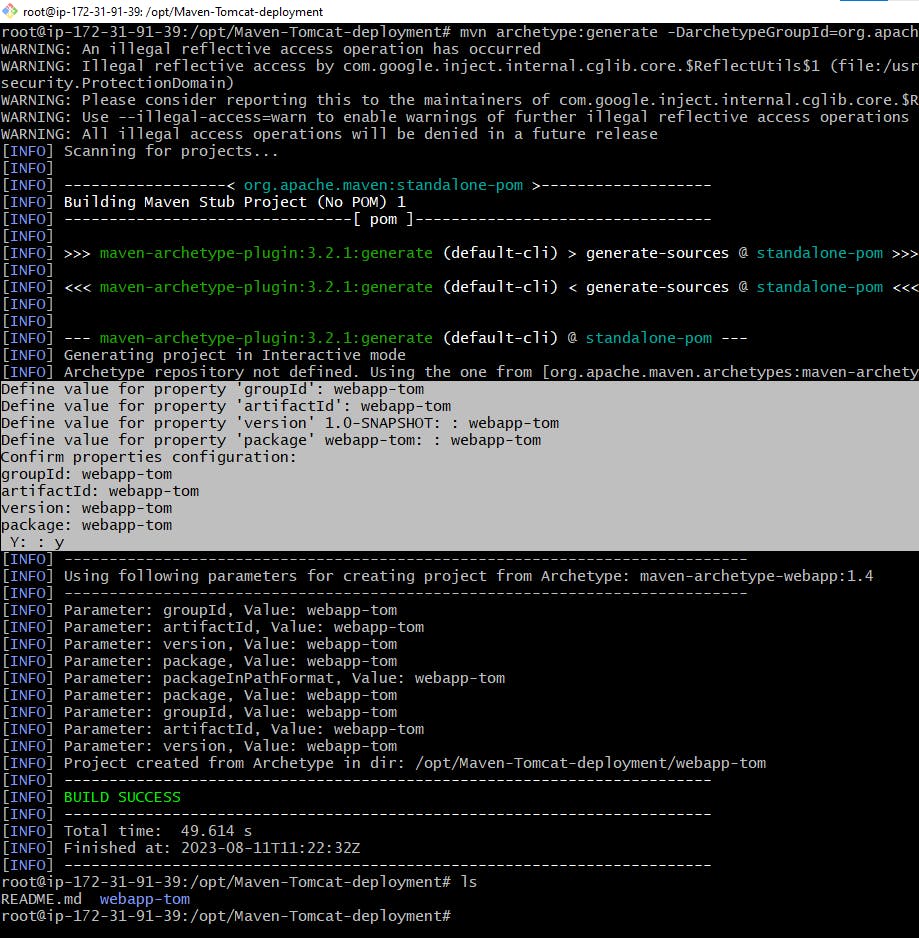
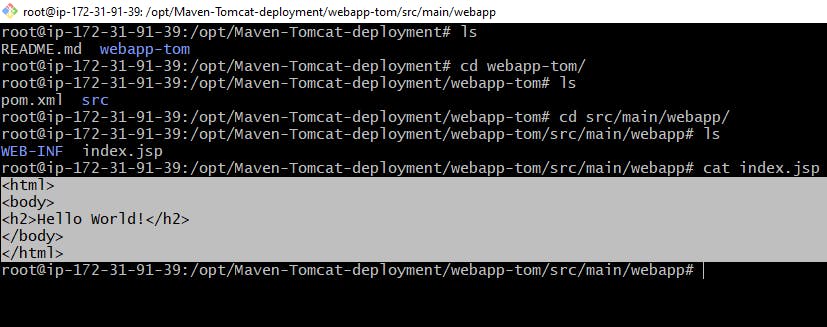
ls
cd webapp-tom
cd src/main/webapp
cat index.jsp
We can nano index.jsp as per our need
Now let's move back to the folder where we have our pom.xml and src. And execute mvn goals using the below commands
mvn clean package
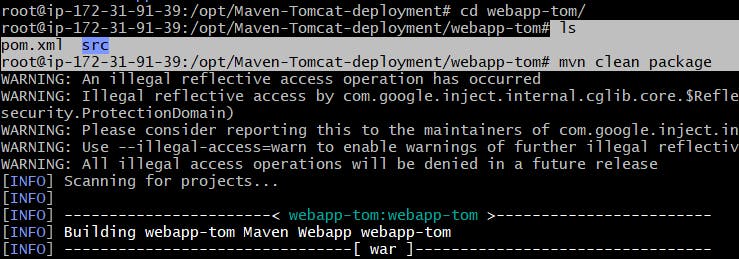
Once the mvn goals are executed a target folder is created and within the target folder you will have a .war file. This war file can be deployed in the Tomcat Server

Now push the complete code to the GitHub repo using git commands
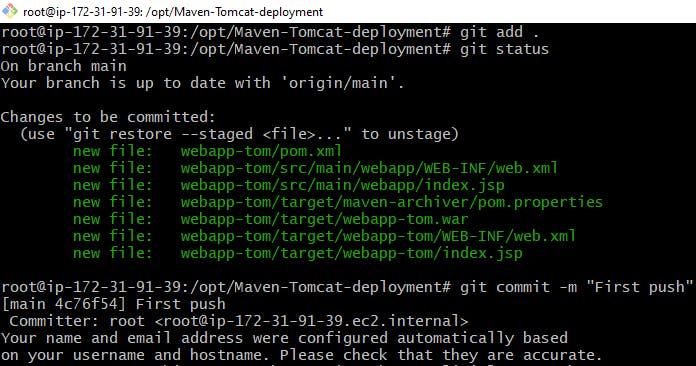
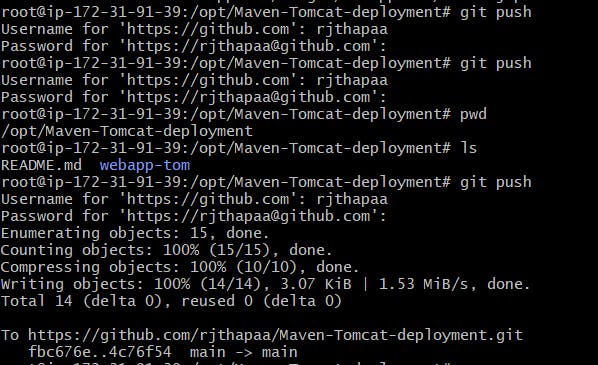
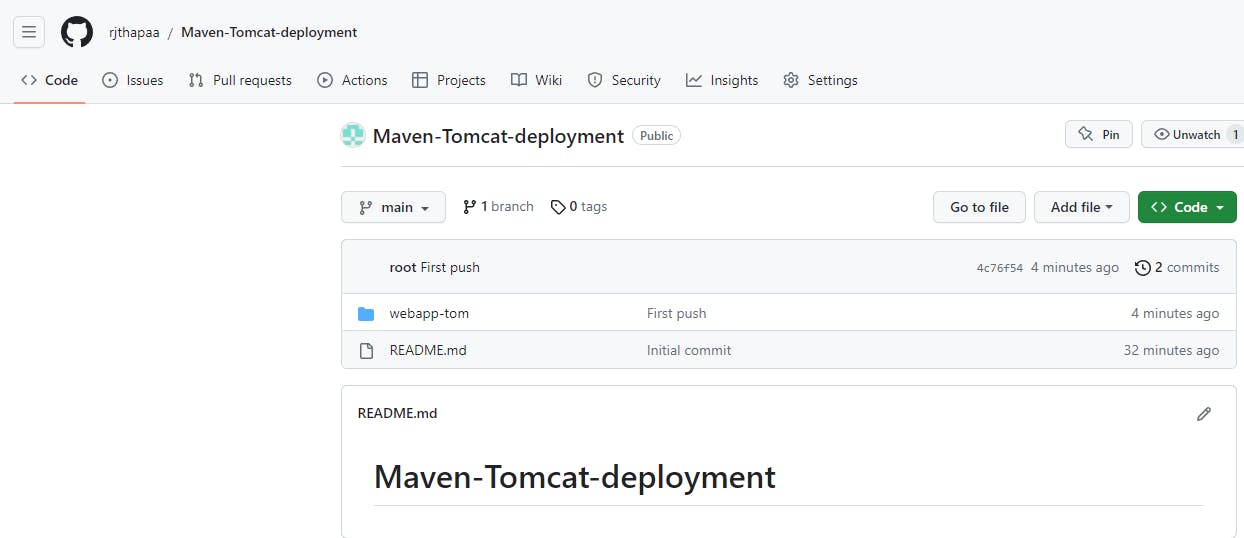
All the commits are pushed to GitHub repo
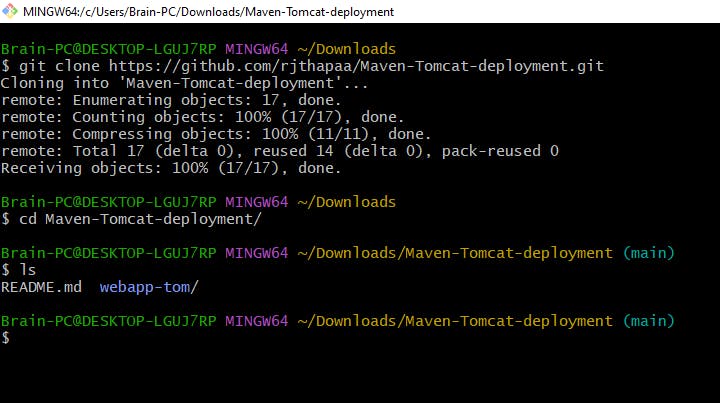
Clone the git repo to local and upload the war file in the deployment in TOMCAT
Navigate to the Tomcat server

Click on Manage App > Choose file (Select the war file from the locally cloned git repo) and click on open and deploy
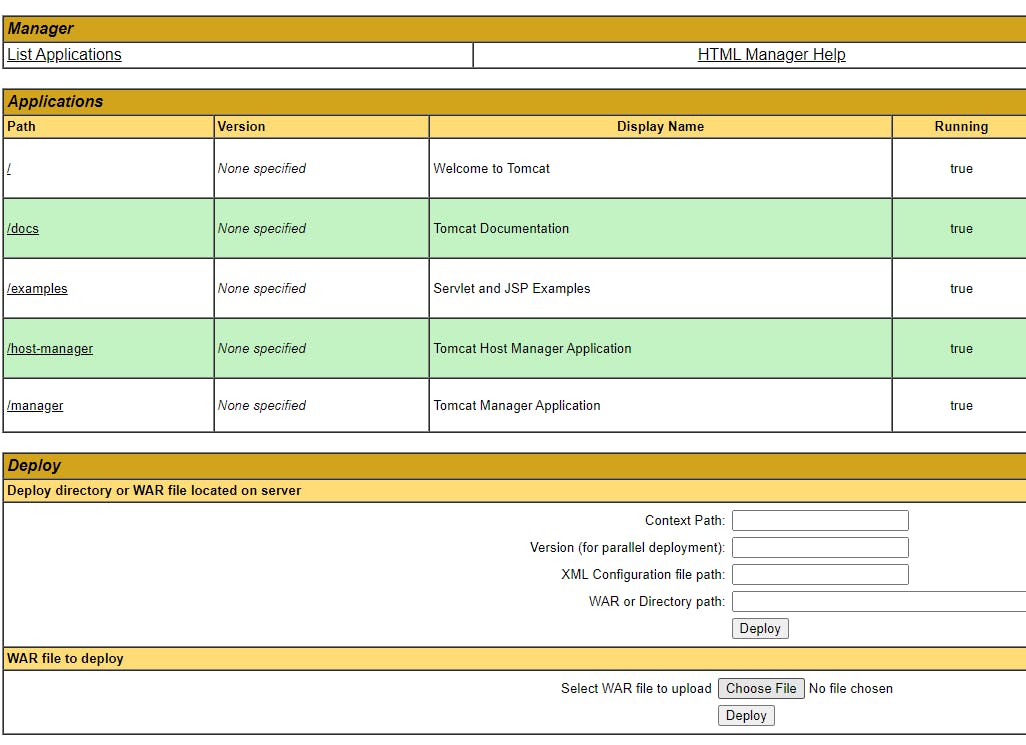
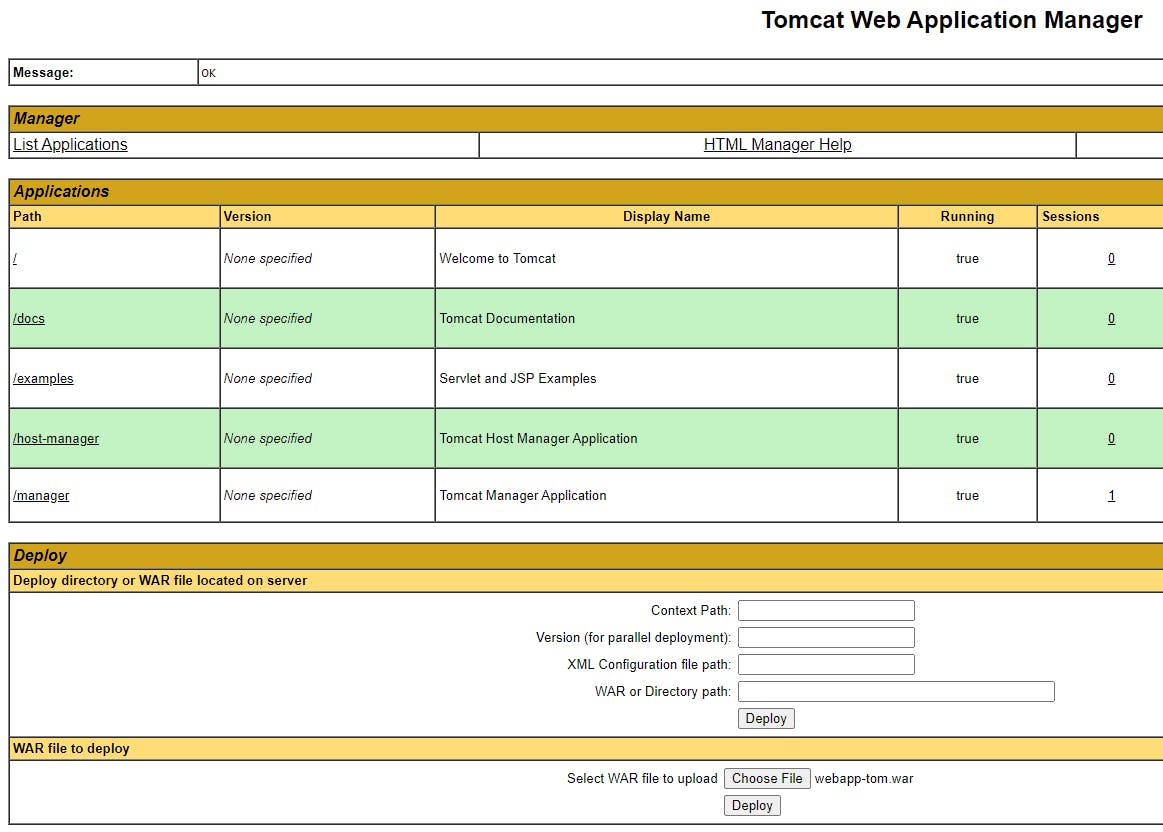
Our war file is deployed
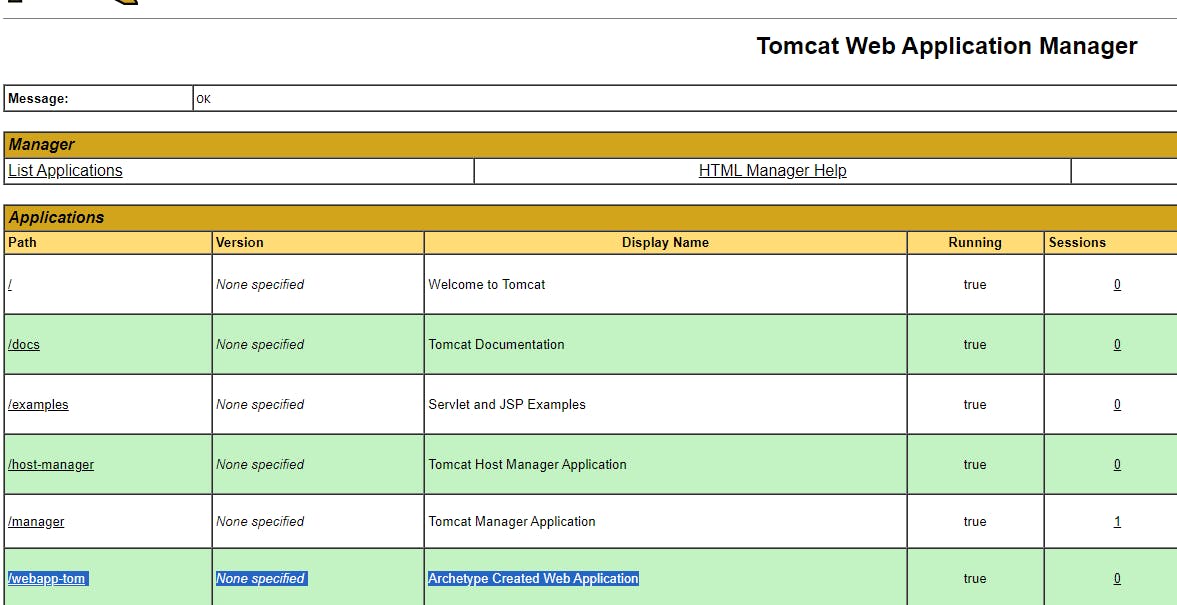
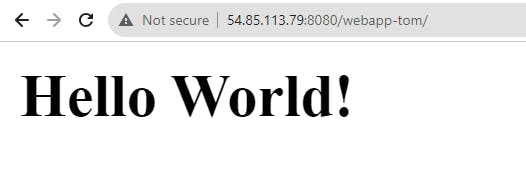
Click on the /webapp-tom to access our application
To stop the application running in Tomcat, click on undeploy

Now get back to the EC2 instance and navigate to the Tomcat directory
cd /opt/apache-tomcat-9.0.78/bin
sh shutdowm.sh

That's it our Tomcat server is also stopped.
Let's do the same deployment with the help of Jenkins CI/CD in the next session. Stay tuned and happy learning.
https://rjthapaa.hashnode.dev/deploy-an-maven-application-on-apache-tomcat-using-jenkins-cicd
