End-to-end Jenkins pipeline for a Java application using SonarQube, Argo CD, and Kubernetes


Here are the step-by-step details to set up an end-to-end Jenkins pipeline for a Java application using SonarQube, Argo CD, Helm, and Kubernetes:
Prerequisites:
Java application code hosted on a Git repository
Jenkins server
Kubernetes cluster
Helm package manager
Argo CD
Jenkins installation
Create an EC2 instance with "t2medium" (Ubuntu 20) and connect to it.
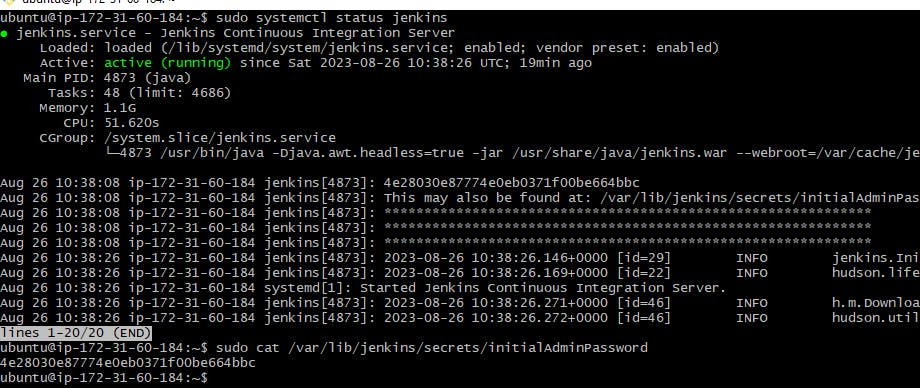
Install Jenkins on that EC2 instance (ps -ef | grep Jenkins)
sudo apt update
sudo apt install openjdk-11-jre
java -version
curl -fsSL https://pkg.jenkins.io/debian/jenkins.io-2023.key | sudo tee \
  /usr/share/keyrings/jenkins-keyring.asc > /dev/null
echo deb [signed-by=/usr/share/keyrings/jenkins-keyring.asc] \
  https://pkg.jenkins.io/debian binary/ | sudo tee \
  /etc/apt/sources.list.d/jenkins.list > /dev/null
sudo apt-get update
sudo apt-get install jenkins

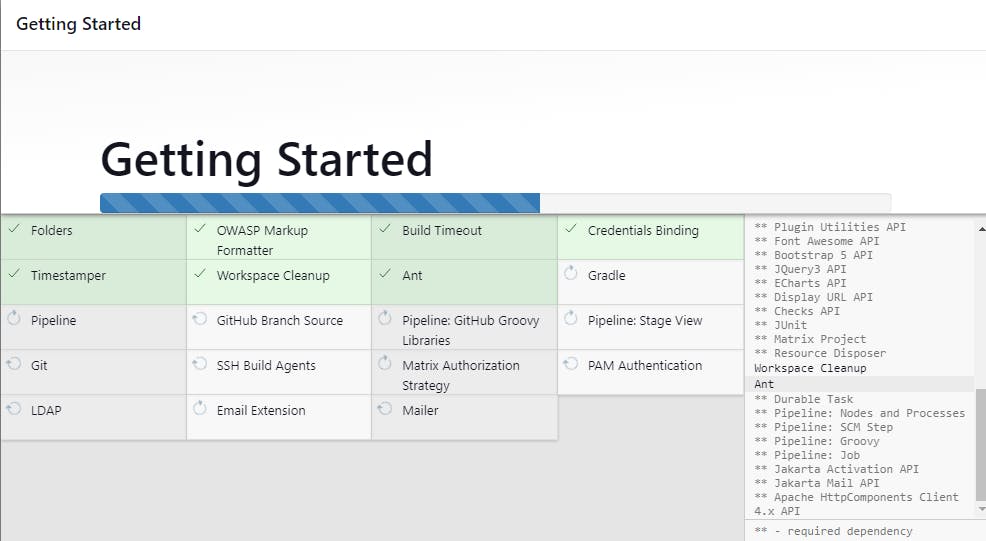
Click on Install suggested plugins
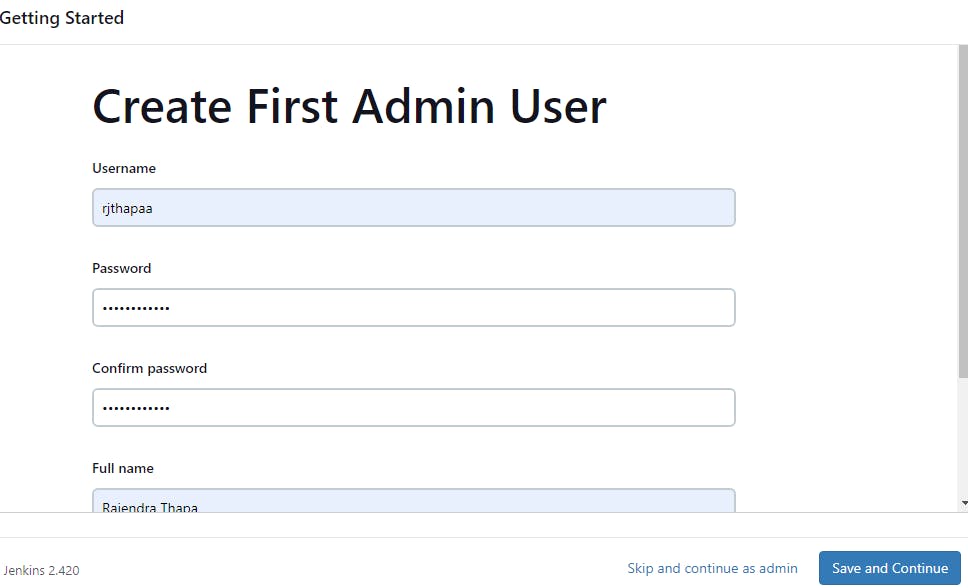
Click on Save and Continue
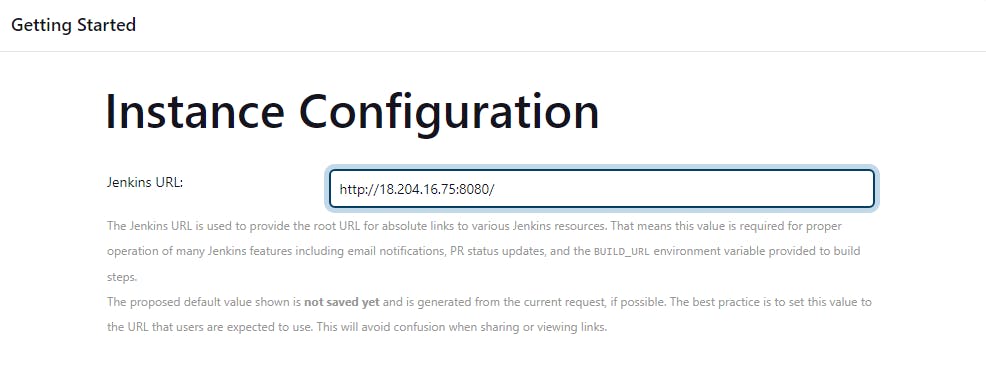
Click on Save and Finish
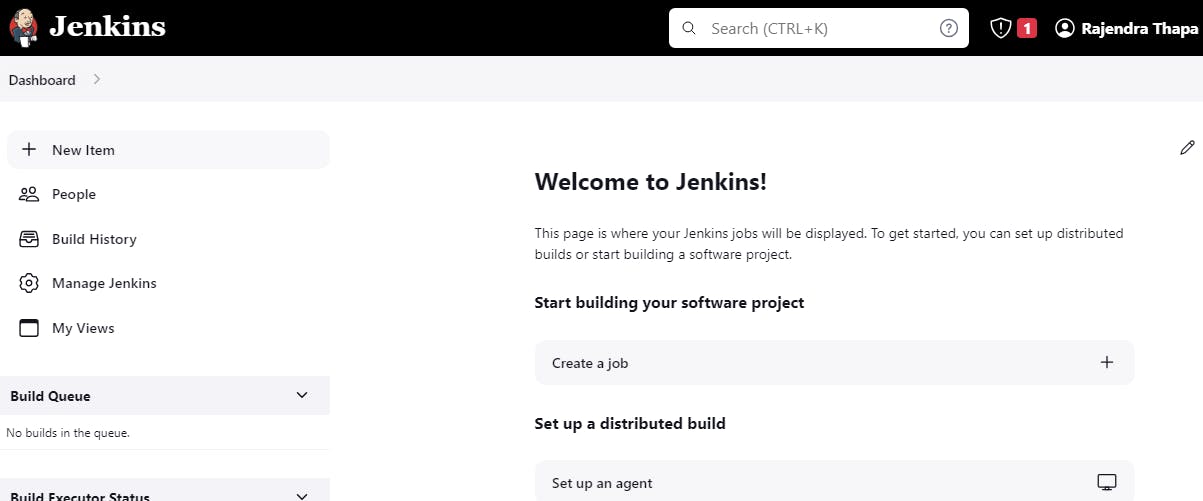
Click on + new item
Create a Jenkins pipeline
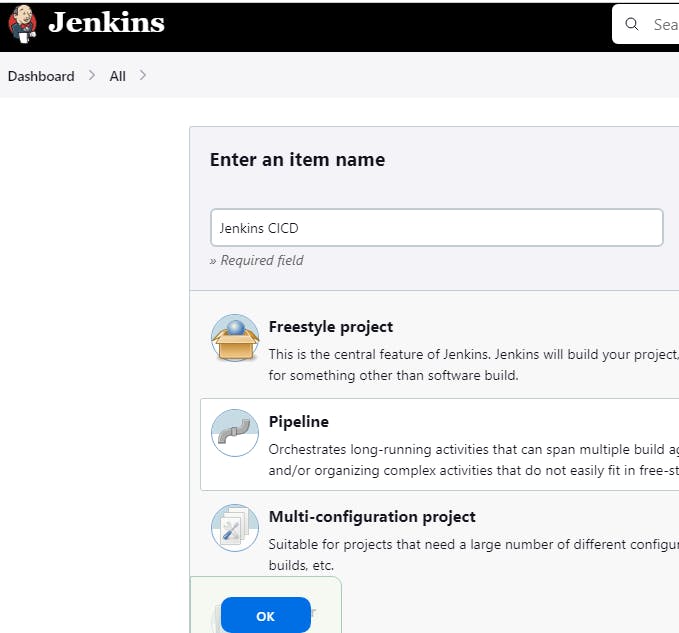
Under Pipeline select it as Pipeline script from SCM
https://github.com/rjthapaa/Jenkins-Zero-To-Hero
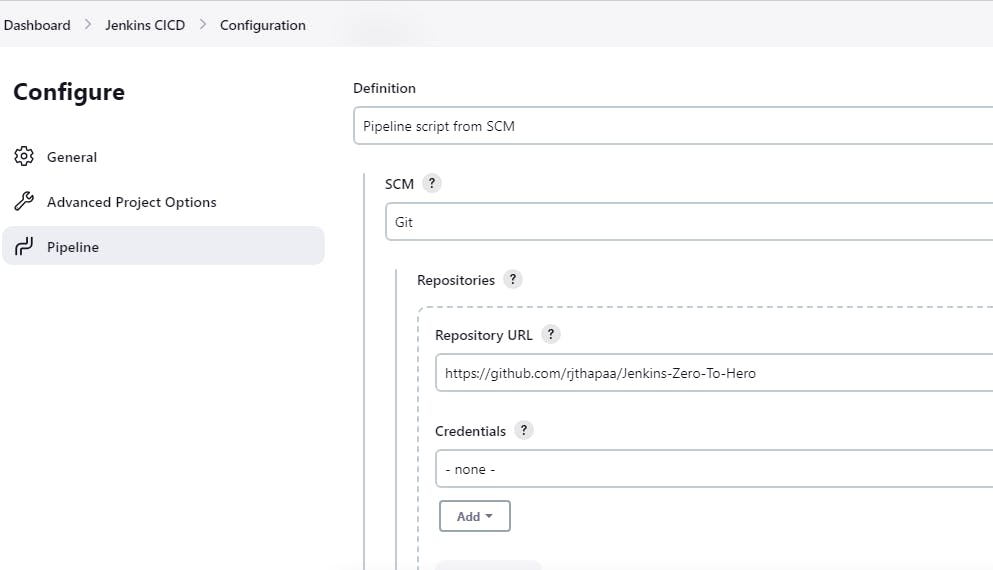
Provide the repo branch and Jenkinsfile Path
java-maven-sonar-argocd-helm-k8s/spring-boot-app/JenkinsFile
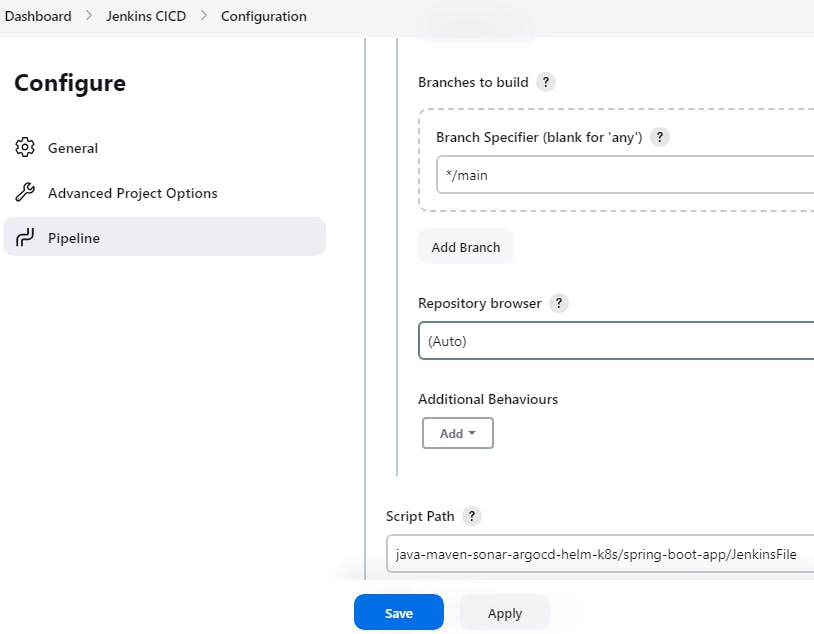
Click on save and apply.
One of the best ways to write a Jenkins file is to use Docker containers as agents for the Jenkins pipeline, the purpose is it lessen the configuration.
Docker container you can just write once and whenever containers get created the config will be created and the container will be deleted right after this Jenkins file is executed
Once all the stages are Jenkins pipeline is successful, the container is deleted, so it has room for other jobs to execute properly
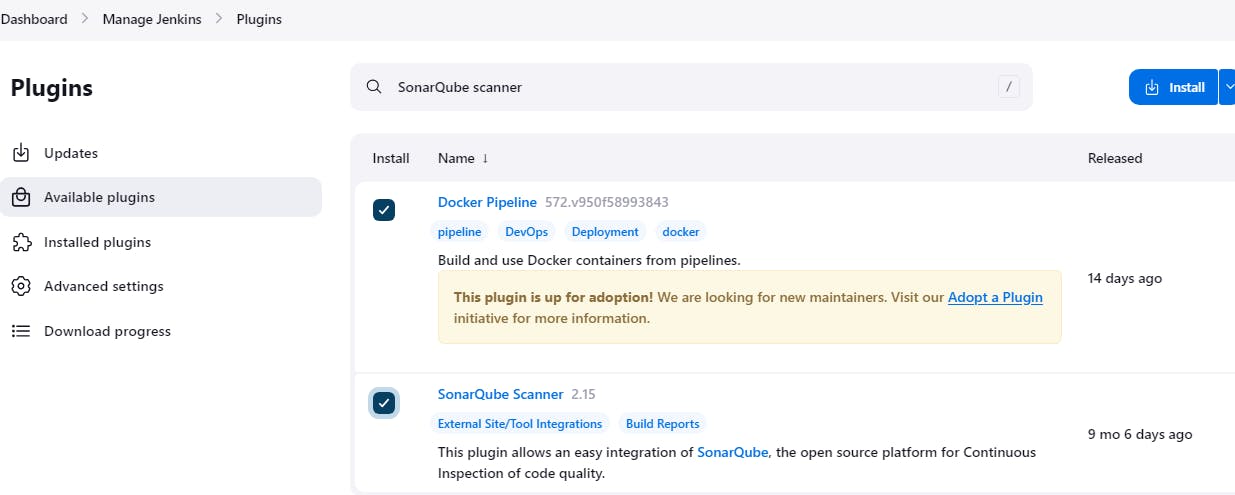
Install Plugins in the Jenkins dashboard
Jenkins Dashboard > Manage Jenkins > Plugins > Available plugins
Search for Docker Pipeline, SonarQube scanner and install it
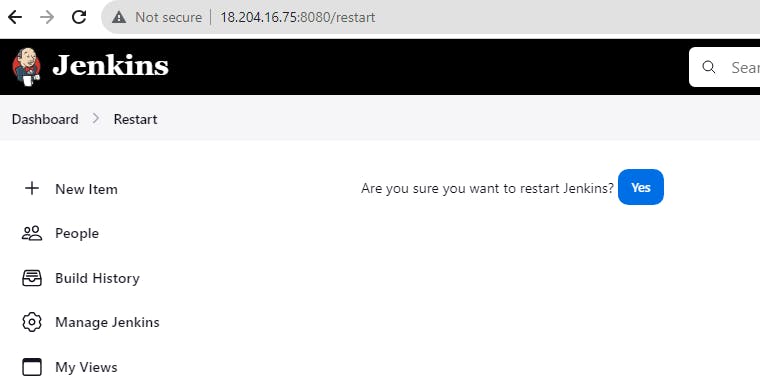
Restart the Jenkins server by using 18.204.16.75:8080/restart command
SonarQube installation
sudo adduser sonarqube
sudo su - sonarqube

#optional
exit
sudo su
vi /etc/sudoers
#User privilege specification
root     ALL=(ALL:ALL) ALL
username ALL=(ALL:ALL) ALL

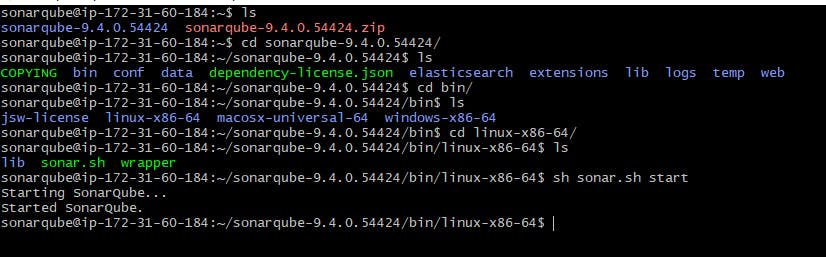
wget https://binaries.sonarsource.com/Distribution/sonarqube/sonarqube-9.4.0.54424.zip
sudo apt install unzip
unzip *
chmod -R 755 /home/sonarqube/sonarqube-9.4.0.54424
chown -R sonarqube:sonarqube /home/sonarqube/sonarqube-9.4.0.54424
cd sonarqube-9.4.0.54424/bin/linux-x86-64/
./sonar.sh start
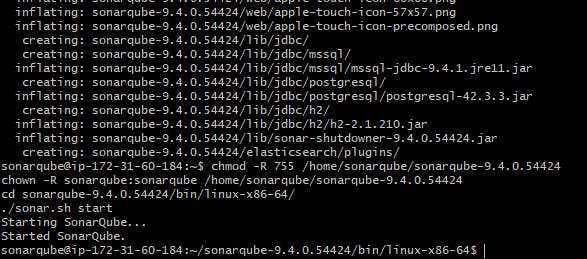
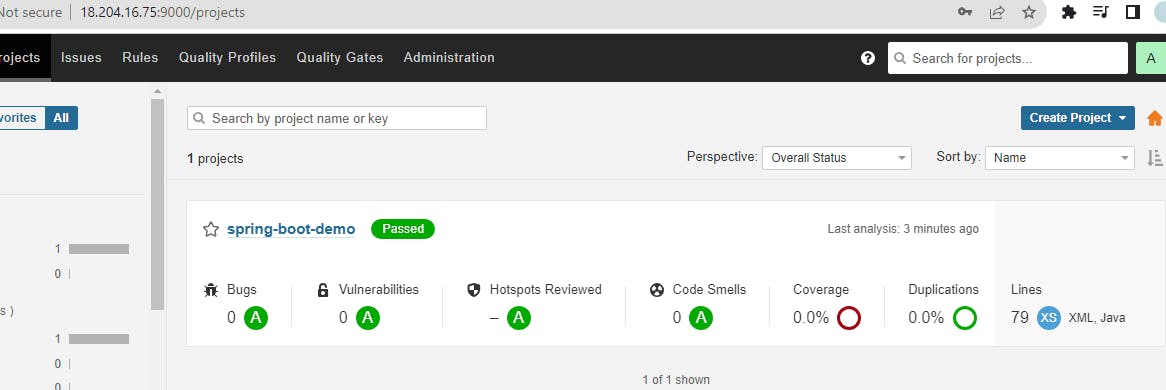
Access the SonarQube Server on http://<ip-address>:9000

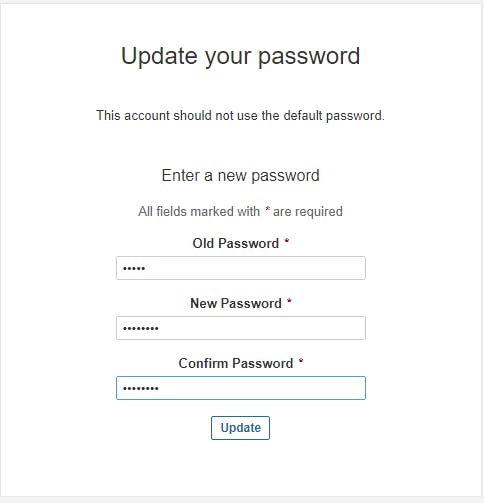
Enter Login as admin and password as admin.
Update and change your default password
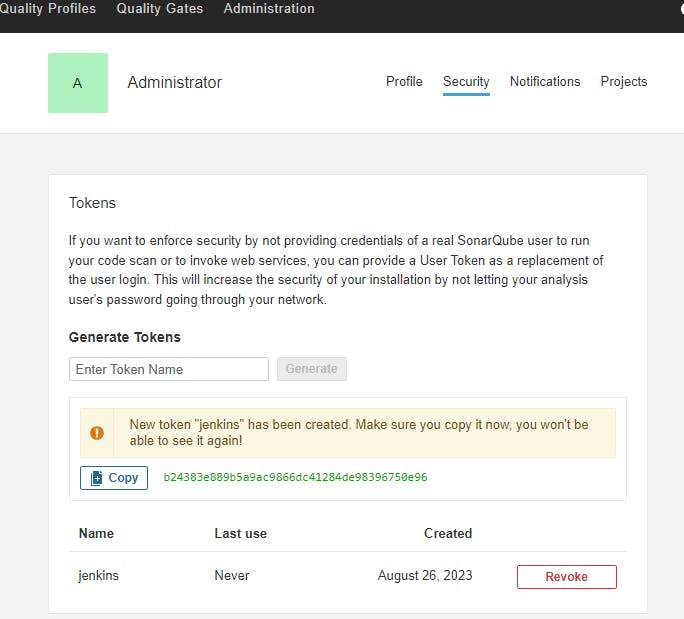
Generate the Sonarqube token Credentials
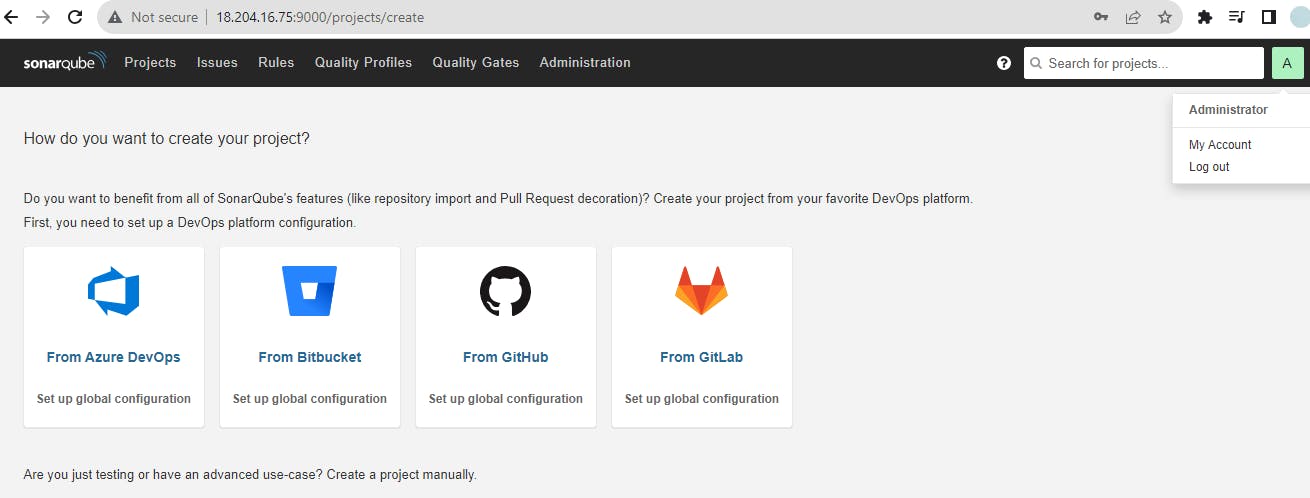
Click on My Account > Security > Generate Tokens (Enter the Token name) > Click on Generate
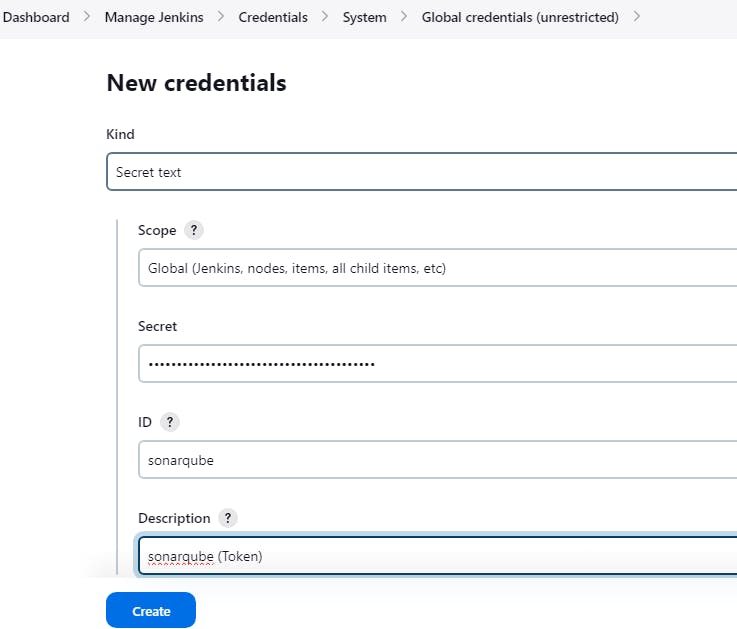
Configure Sonar token credentials in Jenkins
Jenkins Dashboard > Manage Jenkins > Credentials > System > Global credentials > Add credentials > Kind (Secret text)
As ID: sonarqube
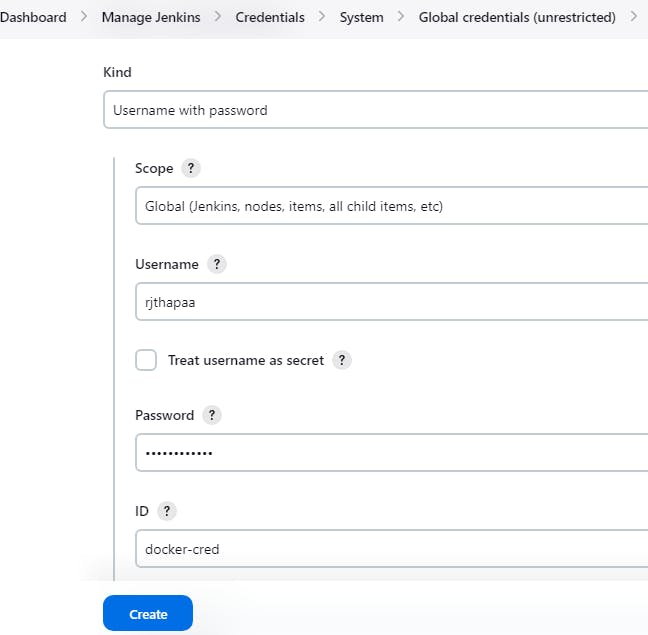
Configure DockerHub credentials in Jenkins
In the same way, create credentials for the DockerHub
Jenkins Dashboard > Manage Jenkins > Credentials > System > Global credentials > Add credentials > Kind (Username with password)
As ID: docker-cred
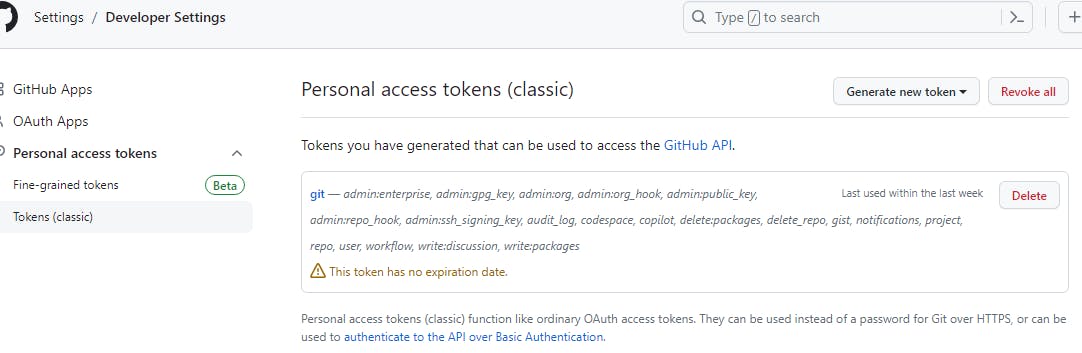
Create a GitHub Token
GitHub > Settings > Developer Settings > Personal access token > Tokens (classic) > Generate new token)
Configure the Git credentials in Jenkins
Jenkins Dashboard > Manage Jenkins > Credentials > System > Global credentials > Add credentials > Kind (Secret text)
As ID: github


Please keep the credentials ID names (sonarqube, docker-cred, github) as it is. Because the Jenkins file is configured with the same names.
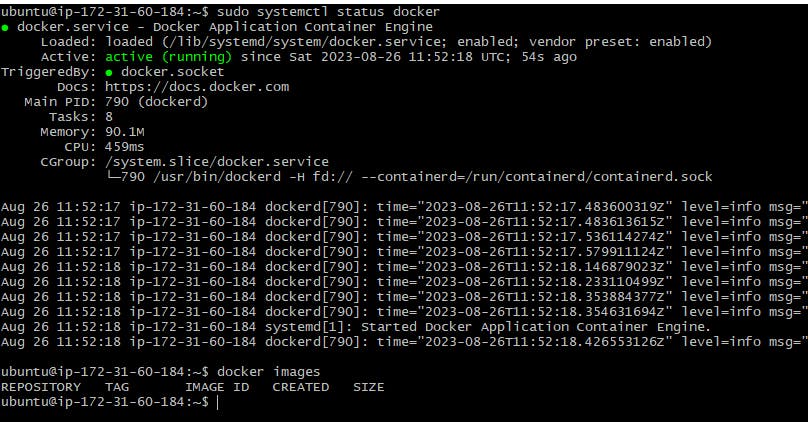
Install docker
sudo apt update
sudo apt install docker.io -y
sudo usermod -aG docker jenkins
sudo usermod -aG docker $USER
sudo reboot
Let's run the Jenkins Pipeline now and see if the works fine
Make sure your sonarqube is started and working, so the pipeline can be smooth

The deployment.yml file version will be updated

In SonarQube the application will be passed
A new docker image will be updated in the Dockerhub account

This way, we completed CI ( Continuous Integration) Part. Java application is built, SonarQube completes static code analysis and the latest image is created, pushed to DockerHub and updated Manifest repository with the latest image.
Continuous Delivery Implementation
ArgoCD is utilized in Kubernetes to establish a completely automated continuous delivery pipeline for the configuration of Kubernetes. This tool follows the GitOps approach and operates in a declarative manner to deliver Kubernetes deployments seamlessly.
Argo CD is a very simple and efficient way to have declarative and version-controlled application deployments with its automatic monitoring and pulling of manifest changes in the Git repo, but it also has easy rollback and reverts to the previous state, not manually reverting every update in the cluster.
Install VirtualBox and Ubuntu 22.04 on it (Windows Users)
Not required if you are using the Linux operating system.
However, for users with the Windows operating system, refer video link - To Install Ubuntu 22.04 LTS on Windows 10 / Windows 11.
We will use this virtual machine for the next Continuous Delivery part of this project.
Install Minikube (Local Machine or Virtual BOX)
Minikube is a tool that enables users to set up and run a single-node Kubernetes cluster on their local machine. It is useful for developers who want to test their applications in a local Kubernetes environment before deploying them to a production cluster. Minikube provides an easy way to learn and experiment with Kubernetes without the need for a complex setup.
sudo apt-get update
sudo apt-get install docker.io
curl -LO https://storage.googleapis.com/minikube/releases/latest/minikube-linux-amd64
sudo install minikube-linux-amd64 /usr/local/bin/minikube
sudo usermod -aG docker $USER && newgrp docker
sudo reboot docker
minikube start --driver=docker
Install kubectl
Kubectl is a command-line interface (CLI) tool that is used to interact with Kubernetes clusters. It allows users to deploy, inspect, and manage Kubernetes resources such as pods, deployments, services, and more. Kubectl enables users to perform operations such as creating, updating, deleting, and scaling Kubernetes resources.
curl -LO "https://storage.googleapis.com/kubernetes-release/release/$(curl -s https://storage.googleapis.com/kubernetes-release/release/stable.txt)/bin/linux/amd64/kubectl"
chmod +x ./kubectl
sudo mv ./kubectl /usr/local/bin
kubectl version

Install Argo CD operator
ArgoCD is a widely-used GitOps continuous delivery tool that automates application deployment and management on Kubernetes clusters, leveraging Git repositories as the source of truth. It offers a web-based UI and a CLI for managing deployments, and it integrates with other tools. ArgoCD streamlines the deployment process on Kubernetes clusters and is a popular tool in the Kubernetes ecosystem.
The Argo CD Operator manages the full lifecycle of Argo CD and its components. The operator's goal is to automate the tasks required when operating an Argo CD cluster.
curl -sL https://github.com/operator-framework/operator-lifecycle-manager/releases/download/v0.24.0/install.sh | bash -s v0.24.0
kubectl create -f https://operatorhub.io/install/argocd-operator.yaml
kubectl get csv -n operators
kubectl get pods -n operators

Go to link https://argocd-operator.readthedocs.io/en/latest/usage/basics/
The following example shows the most minimal valid manifest to create a new Argo CD cluster with the default configuration.
Create argocd-basic.yml with the following content.
apiVersion: argoproj.io/v1alpha1
kind: ArgoCD
metadata:
  name: example-argocd
  labels:
    example: basic
spec: {}
kubectl apply -f argocd-basic.yml
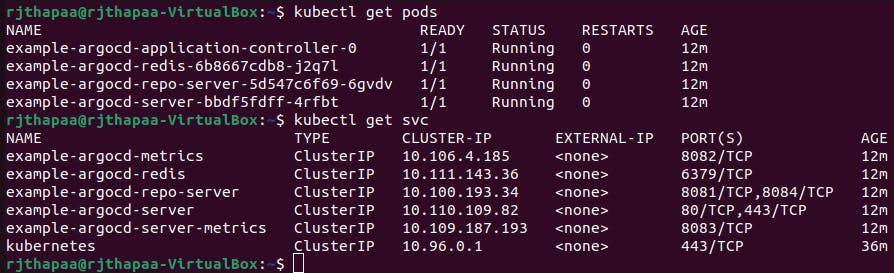
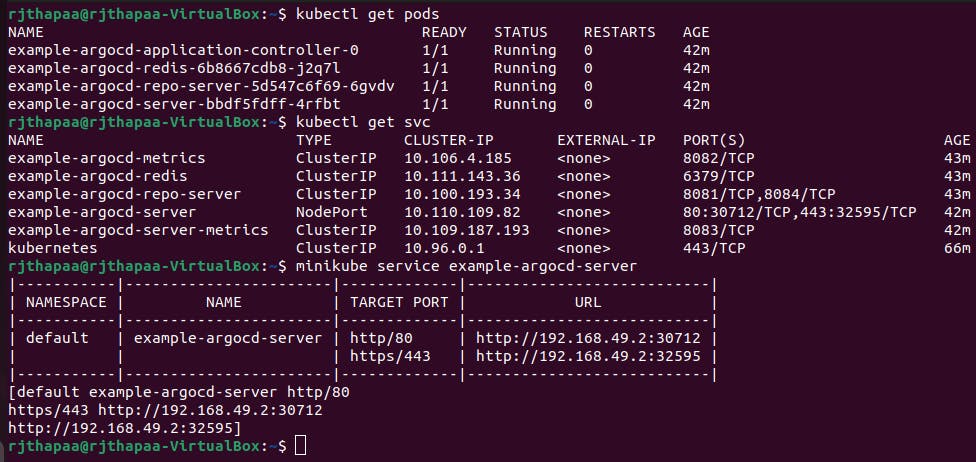
kubectl get pods
kubectl get svc
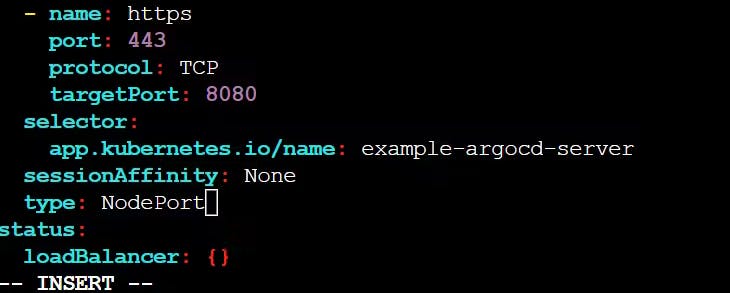
kubectl edit svc example-argocd-server
minikube service example-argocd-server
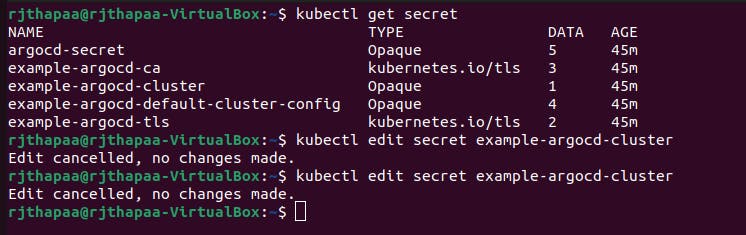
kubectl get secret
NodePort services are useful for exposing pods to external traffic where clients have network access to the Kubernetes nodes.
kubectl edit svc example-argocd-server And change from ClusterIP to NodePort. Save it.
Password for Argo CD
Find out the password for Argo CD, so that, we can access the Argo CD web interface.
kubectl get secret
kubectl edit secret example-argocd-cluster
Copy admin.password
Z0RPU1o5bVhrRWpjbzFiZkhRTjQydXJJc3Bueks2Ukw=

echo <admin.password> | base64 -d

Argo CD Configuration
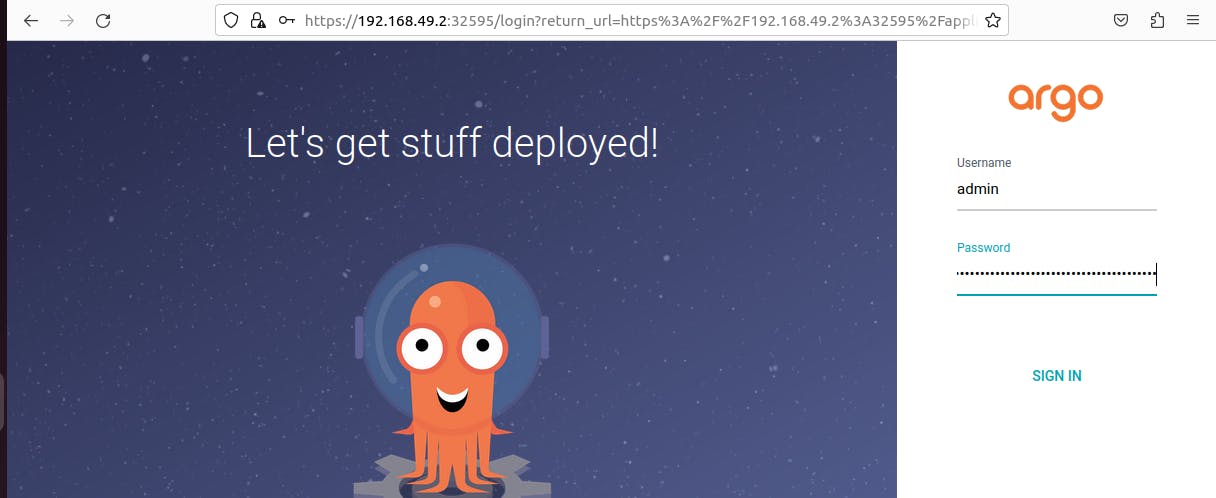
Login to the argoCD page using the NodePort service URL
Username: admin
Password: 2zjrcTKFRvEgBZW1ftUO4GuodQD5A9CH
Click on Create application > Name as argocdapp
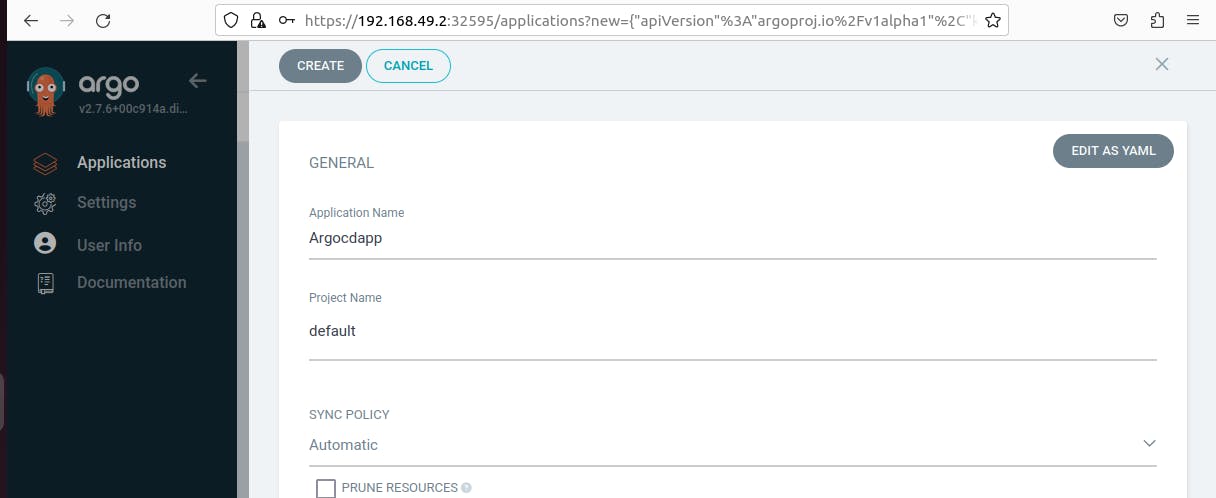
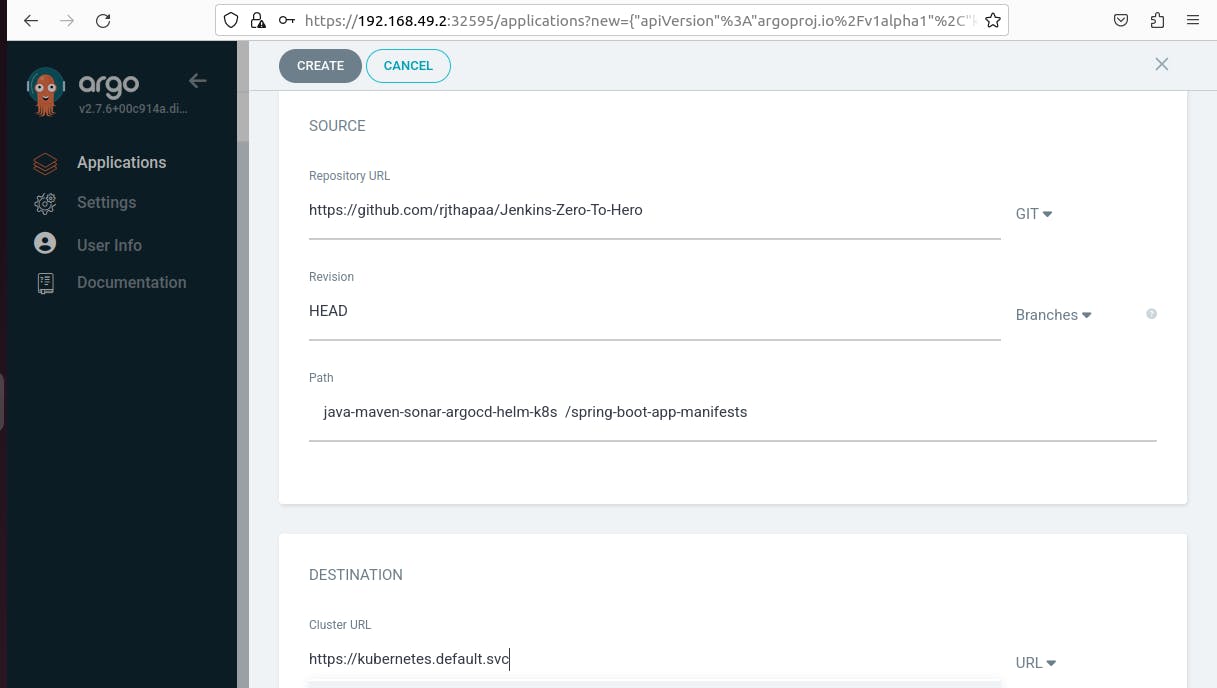
Set the repository URL: https://github.com/rjthapaa/Jenkins-Zero-To-Hero
Path: java-maven-sonar-argocd-helm-k8s/spring-boot-app-manifests
Cluster URL: kubernetes.default.svc
Namespace as default
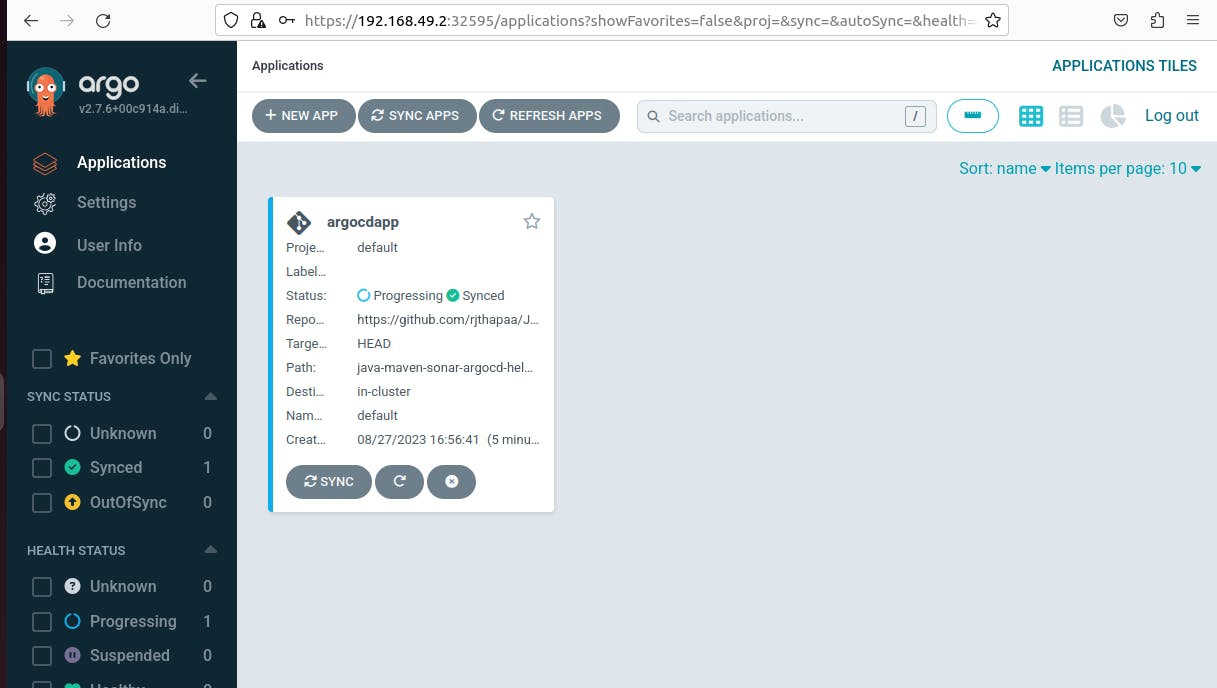
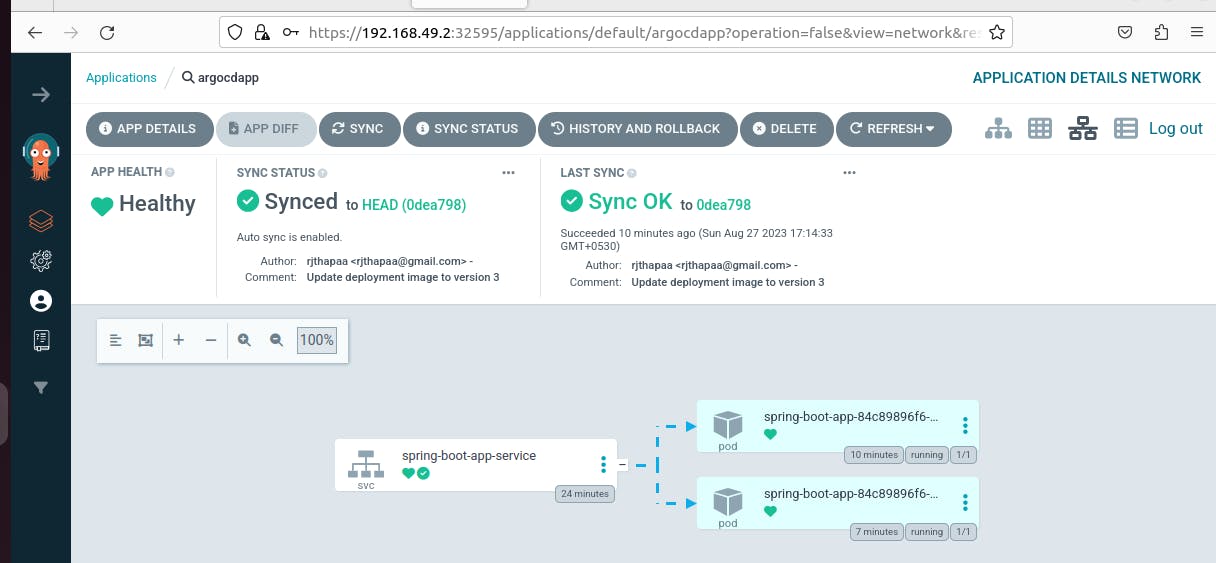
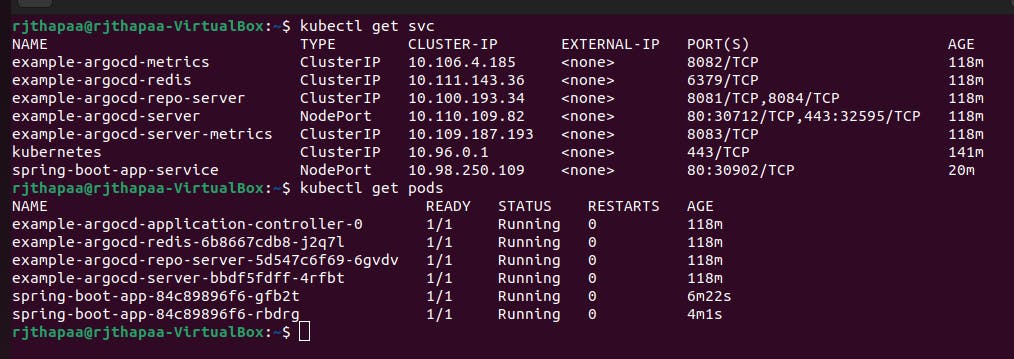
We have now successfully deployed an application using Argo CD.
Argo CD is a Kubernetes controller, responsible for continuously monitoring all running applications and comparing their live state to the desired state specified in the Git repository.