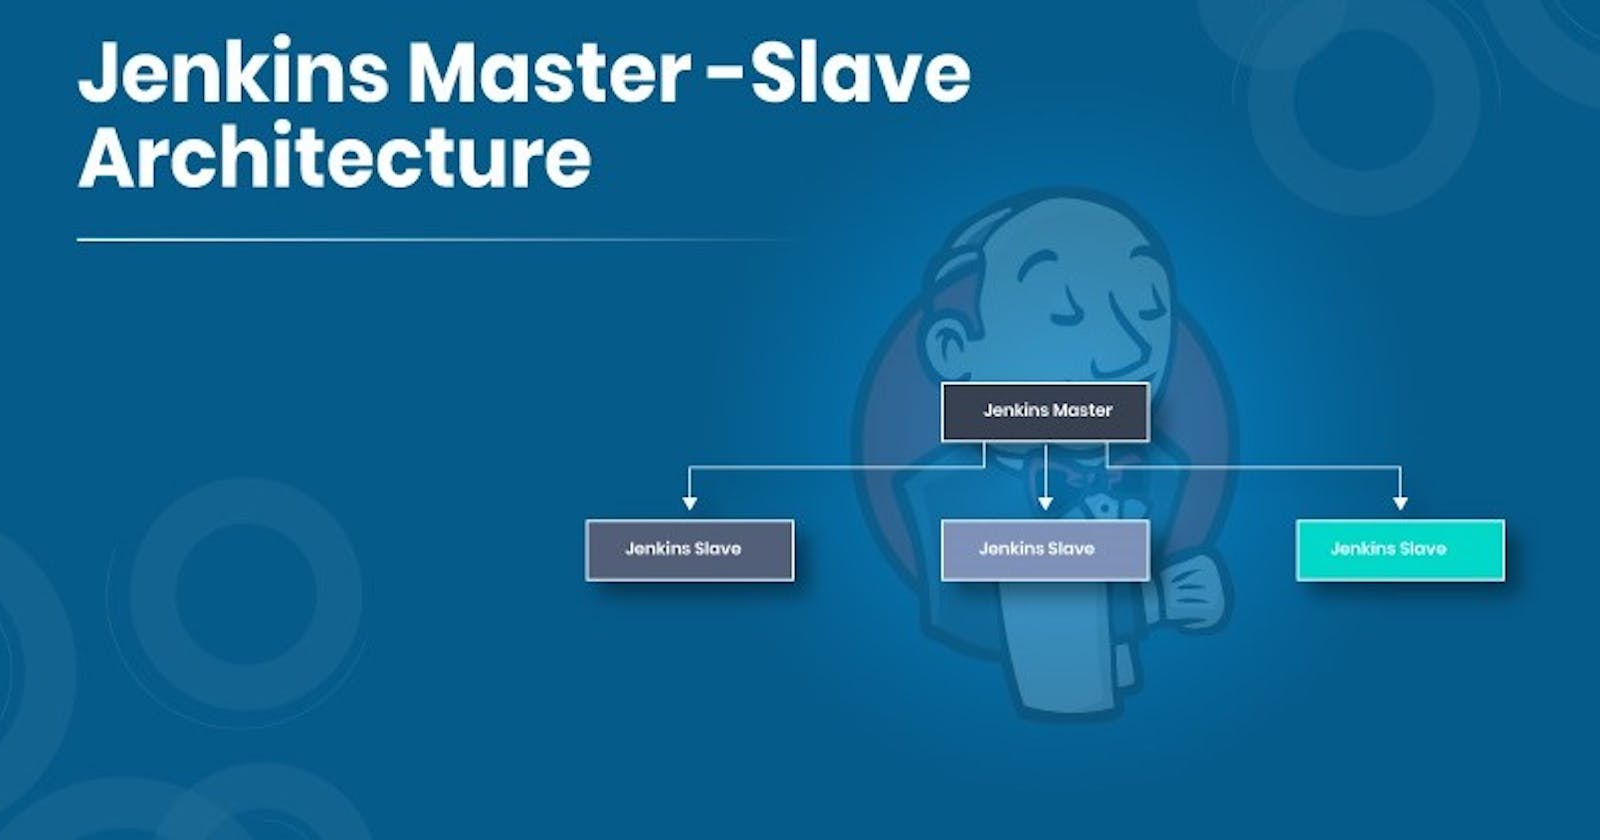


Jenkins Master (Server)
Jenkins’s server or master node holds all key configurations. The Jenkins master server is like a control server that orchestrates all the workflow defined in the pipelines. For example, scheduling a job, monitoring the jobs, etc.
Jenkins Agent
An agent is typically a machine or container that connects to a Jenkins master and this agent actually executes all the steps mentioned in a Job. When you create a Jenkins job, you have to assign an agent to it. Every agent has a label as a unique identifier.
When you trigger a Jenkins job from the master, the actual execution happens on the agent node that is configured in the job.
A single, monolithic Jenkins installation can work great for a small team with a relatively small number of projects. As your needs grow, however, it often becomes necessary to scale up. Jenkins provides a way to do this called “master to agent connection.” Instead of serving the Jenkins UI and running build jobs all on a single system, you can provide Jenkins with agents to handle the execution of jobs while the master serves the Jenkins UI and acts as a control node.

Pre-requisites
Let’s say we’re starting with a fresh Ubuntu 20.04 Linux installation. To get an agent working make sure you install Java ( same version as Jenkins master server ) and Docker on it.
Note:- While creating an agent, be sure to separate rights, permissions, and ownership for jenkins users.
Task-01
Create an agent by setting up a node on Jenkins
Create a new AWS EC2 Instance and connect it to the master(Where Jenkins is installed)
The connection of the master and agent requires SSH and the public-private key pair exchange.
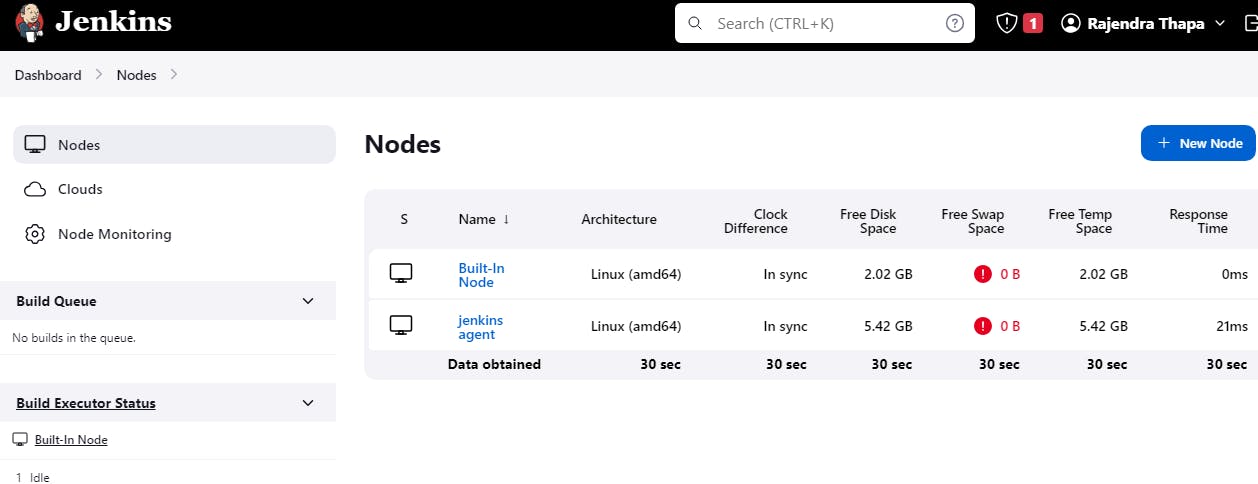
Verify its status under the "Nodes" section.
You can follow this article for the same
Step 1 :
Create 2 instances on aws one for Jenkins (Master) and another for Slave
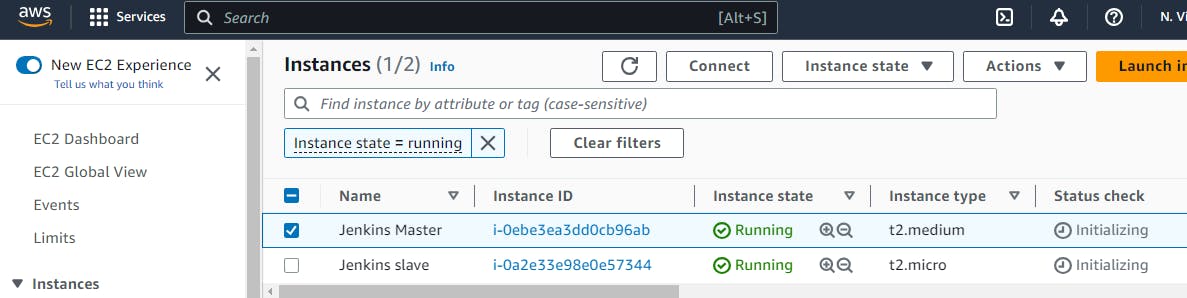
Connect to the Master instance and install Java + Jenkins link
On the Slave node install Java, Docker and Docker compose
Step 2 :
In the Jenkins Master instance, we need to generate both Public and private keys in /home/ubuntu/.ssh and paste the public key into the Jenkins slave instance under /home/ubuntu/authorized_keys
# Generate ssh keys
ssh-keygen
cd .ssh && ls
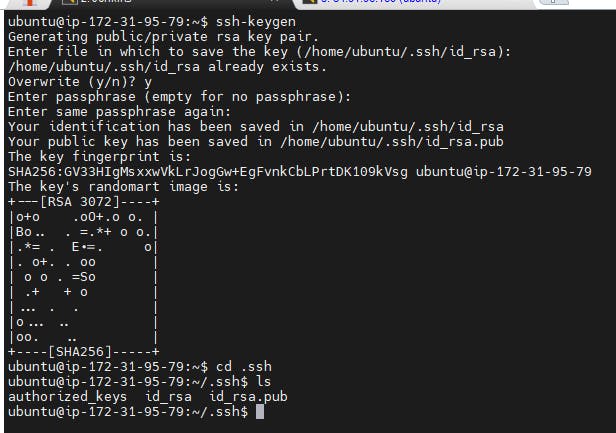
$ cat id_rsa.pub (Public key)
Copy the public key from the Master

Step 3:
On the Slave node - Install Java and docker / docker-compose
sudo apt update
sudo apt install openjdk-17-jre
java -version
sudo apt install docker.io -y
docker --version
# Install docker-compose
sudo curl -L "https://github.com/docker/compose/releases/download/1.29.2/docker-compose-$(uname -s)-$(uname -m)" -o /usr/local/bin/docker-compose
sudo chmod +x /usr/local/bin/docker-compose
docker-compose --version

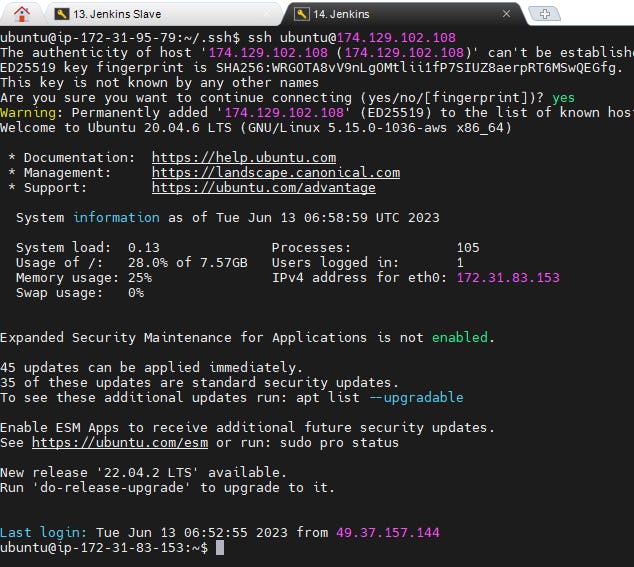
Now switch to vi /home/ubuntu/.ssh/authorized_keys and paste the public key you copied from Jenkins Master

Now you can access the slave machine by providing the below command
ssh ubuntu@44.211.151.235 Public-iP of Slave
Step 4:
Setting up a Node agent in the Jenkins dashboard
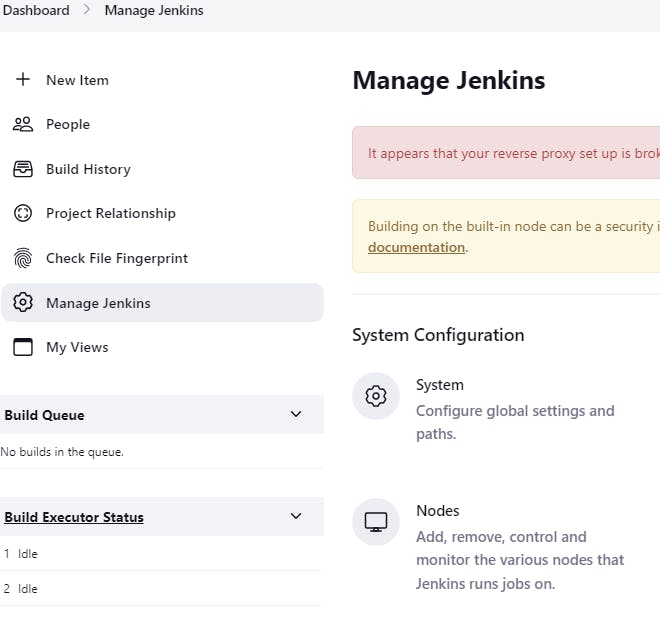
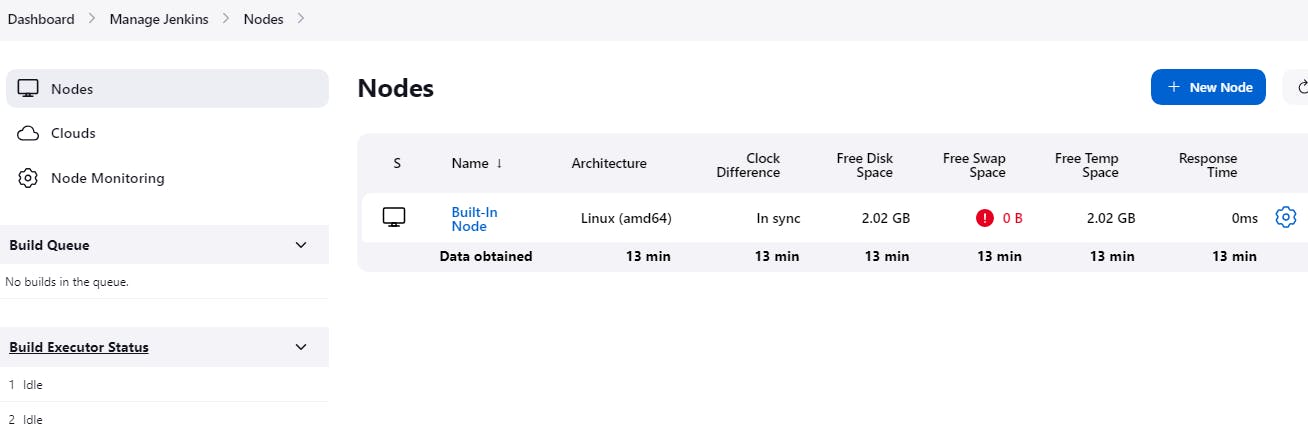
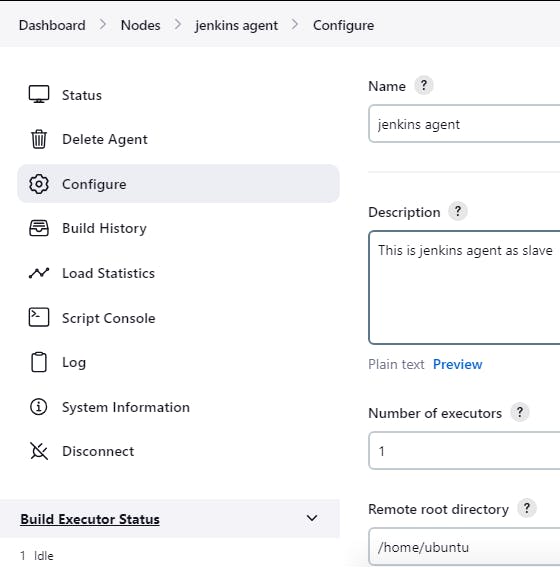
Go to Manage Jenkins \> Nodes
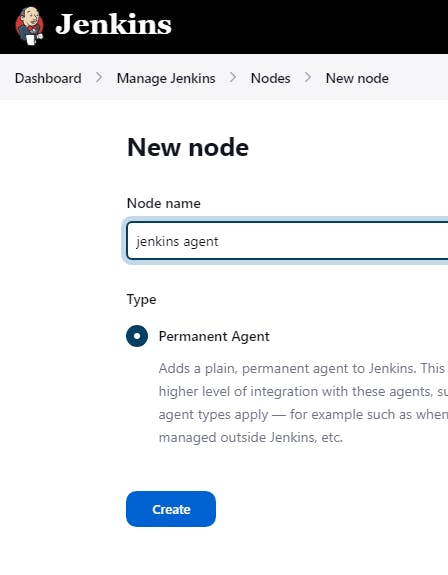
Click on +New Node , Give it a name and click on create
Add the details as follows, set the remote server root directory.
Provide the Labels and Launch method as Launch agents via SSH
The host will be the Public Ip of the Jenkins slave
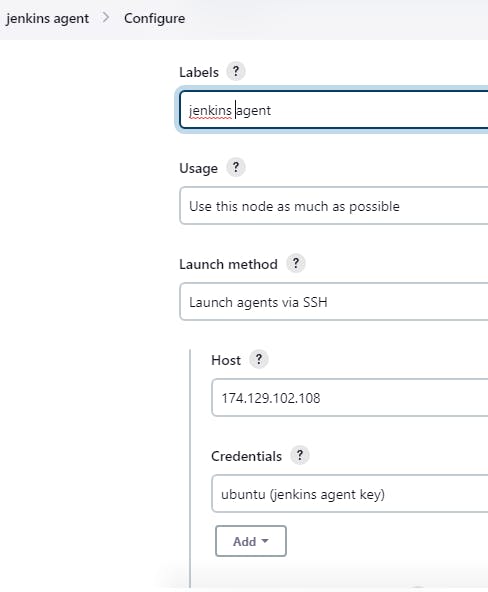
For credentials, we need to click on Add and Follow as I do
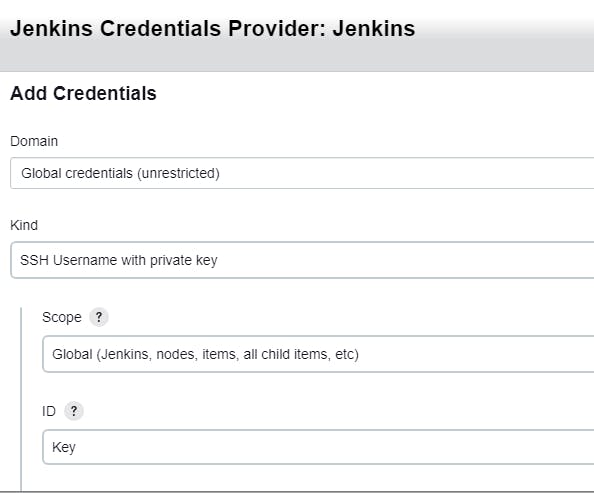
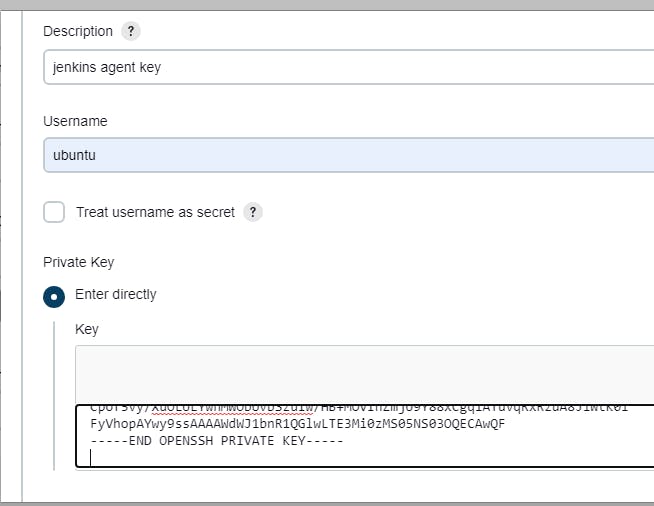
Paste the Private key from Jenkins Master here i.e cat .ssh/id_rsa or from a local device where we have our key and click on add/save
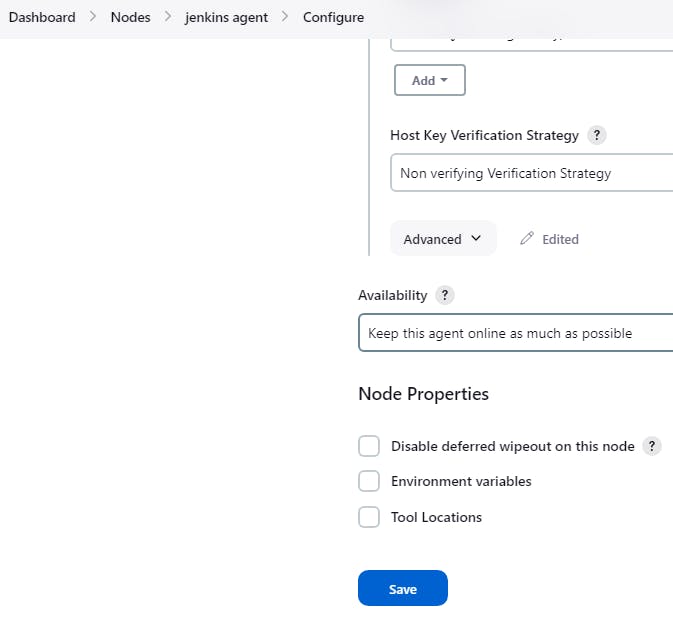
Now our Jenkins agent is ready
Task-02
Run your previous Jobs (which you built on Day 26, and Day 27) on the new agent
Use labels for the agent, your master server should trigger builds for the agent server.
In case of any issues feel free to post on any Groups, Discord or Telegram
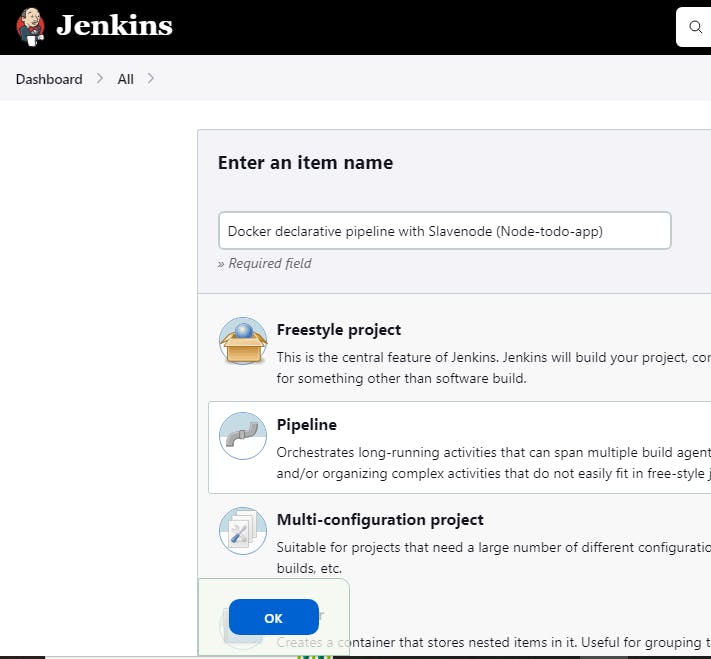
Step 1:
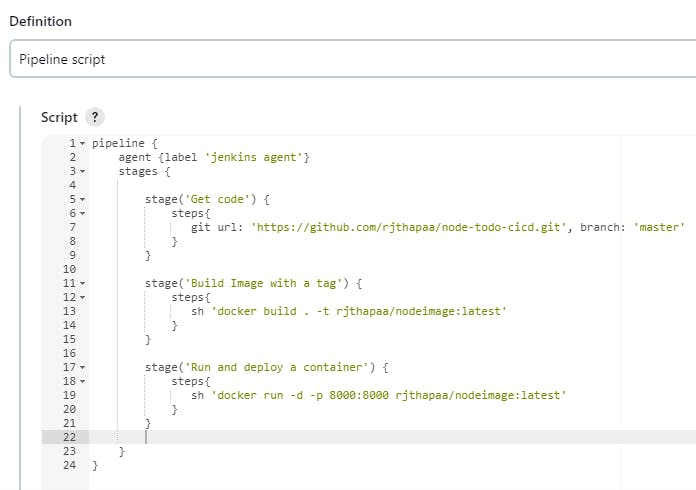
Let's create a new Pipeline project and click on OK
Navigate to Pipeline Section and start writing the script and click on apply and save
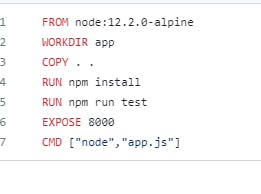
Docker file for Node-todo
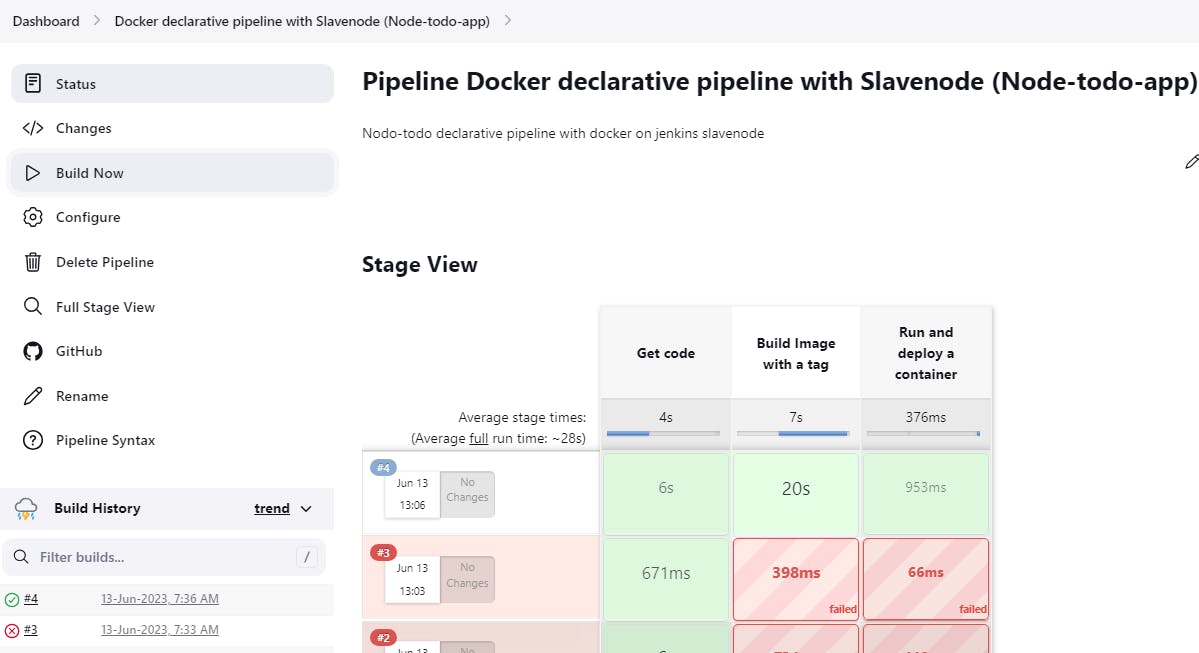
Once you click on build now, Jenkins will throw an error stating docker not found and Got permission denied while trying to connect to the Docker daemon socket at unix:///var/run/docker.sock: because as we are running the pipeline on the agent, we need to install Docker and update group permission in slave machine
sudo usermod -aG docker $USER
sudo usermod -aG docker jenkins
sudo reboot
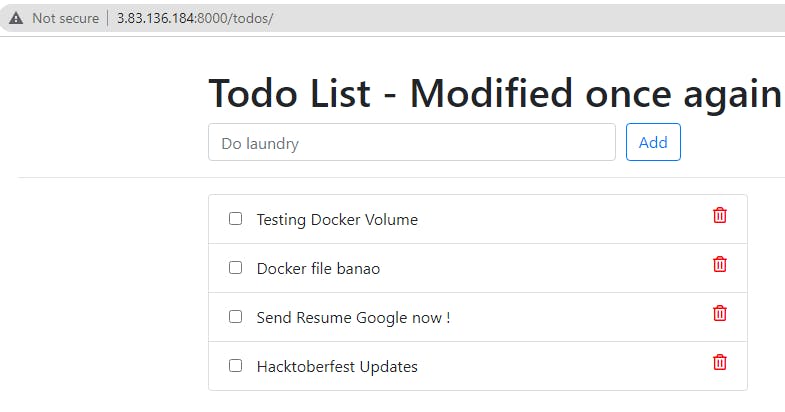
Now our pipeline is successful
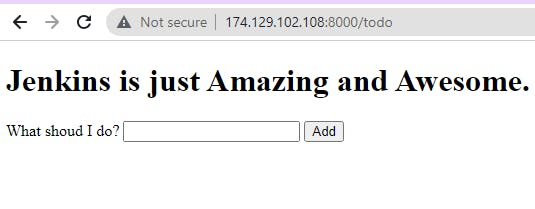
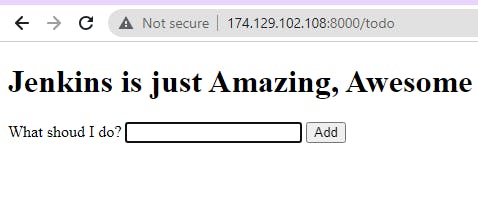
Access the Application in the web browser using SlavePublicip:8000
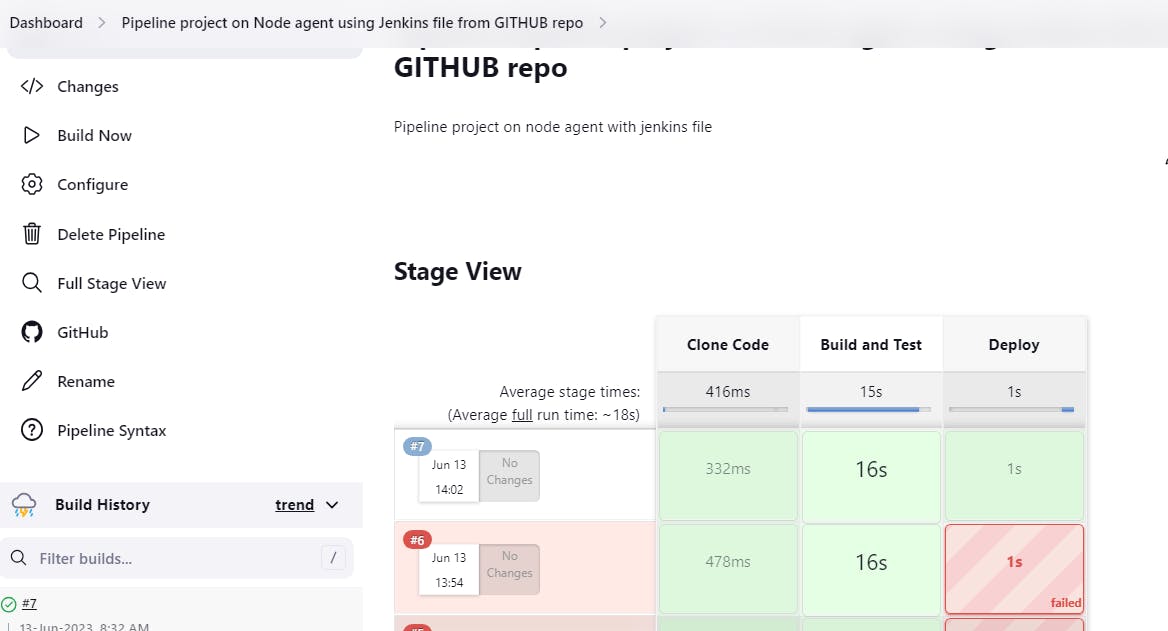
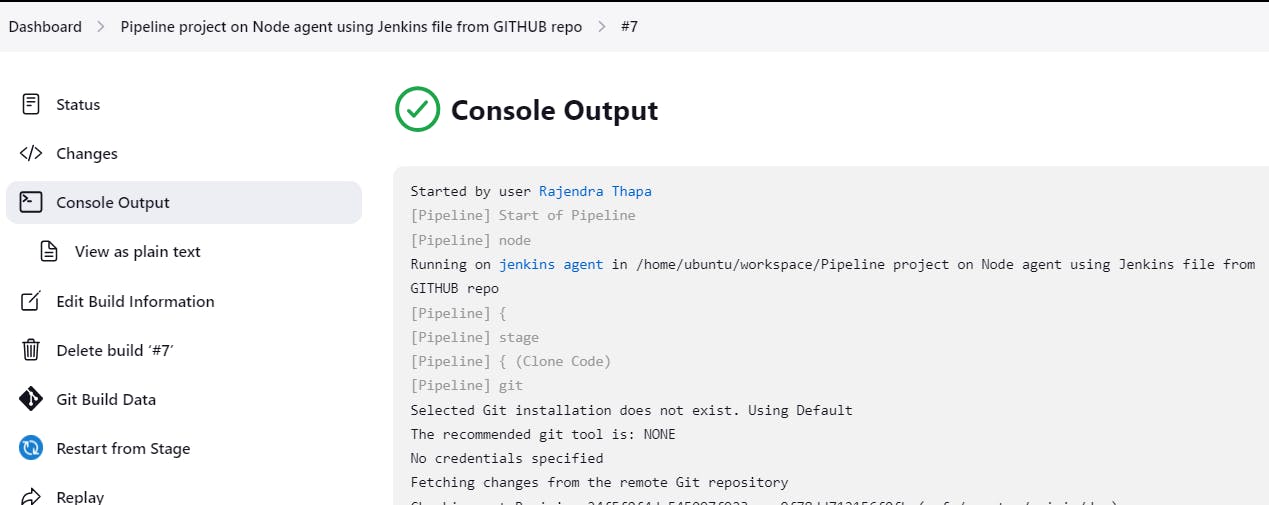
Running a Pipeline project on Node agent using Jenkins file from GitHub repo
Steps :
Create a Pipeline project
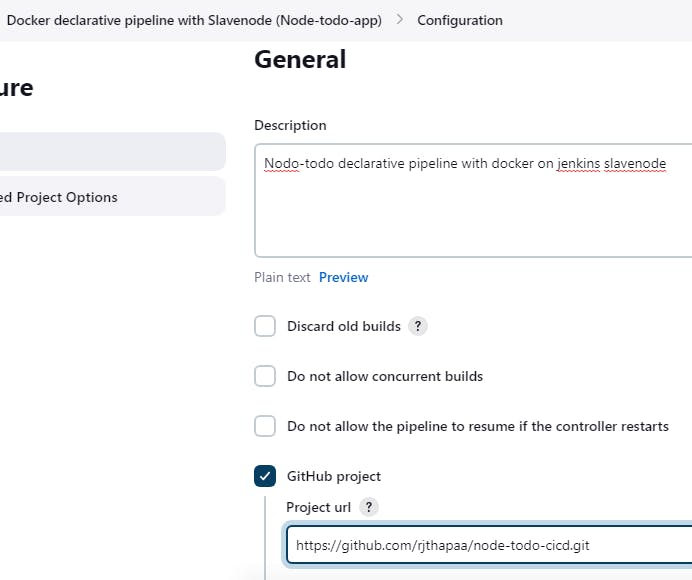
Add a description and select as a GitHub project
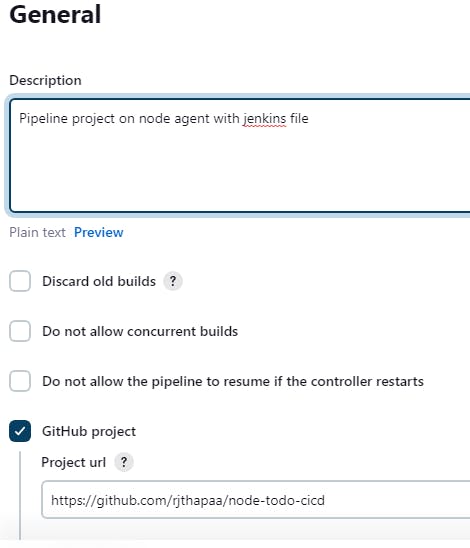
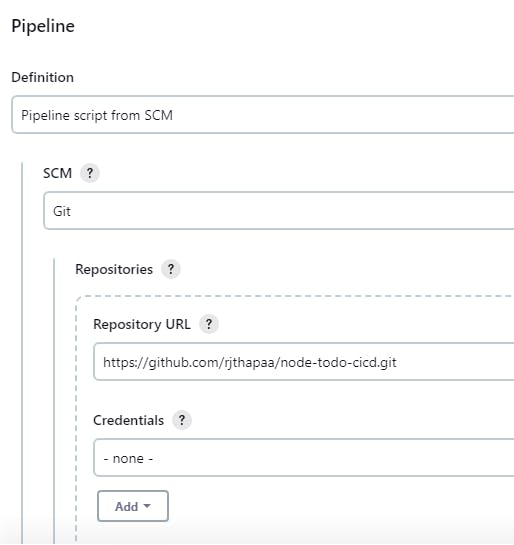
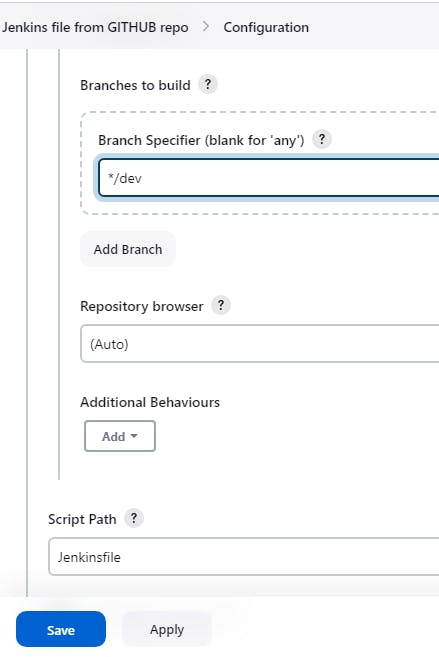
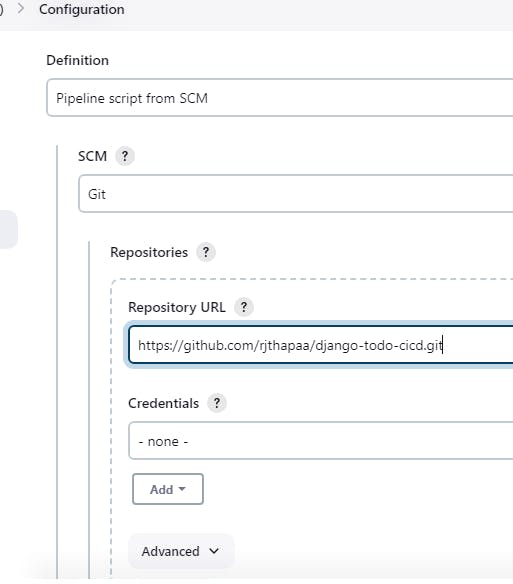
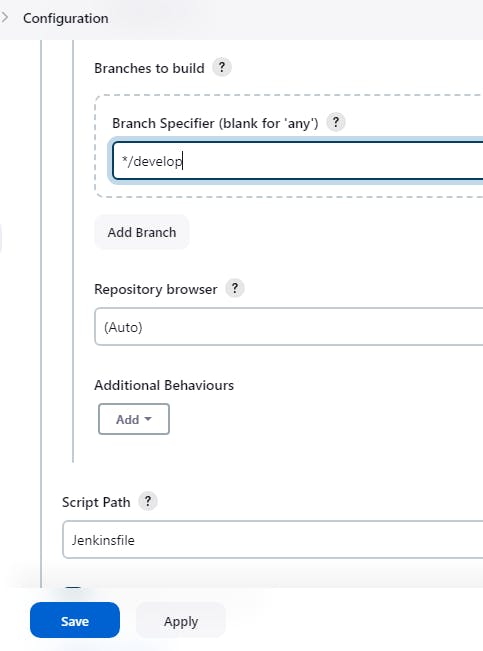
Under the Pipeline section select it as Pipeline script from SCM
Here we are taking a Jenkinsfile with a script from Github and directly running it to deploy without writing a Script
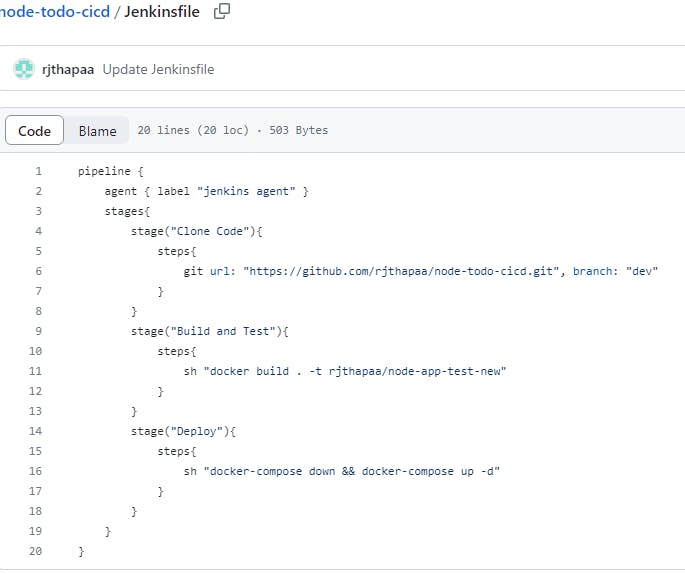
Jenkinsfile from Git
Click on Build Now
Jenkins throws an error docker-compose: not found, so install docker-compose on Slave and run it again

Also, you need to remove the existing docker containers, if you get this error in the slave node by using docker rm <container ID>

Now rerun the build and the build is a success
Pipeline project on Node agent using Jenkins file from GitHub repo -Django and pushing the Image to Docker Hub
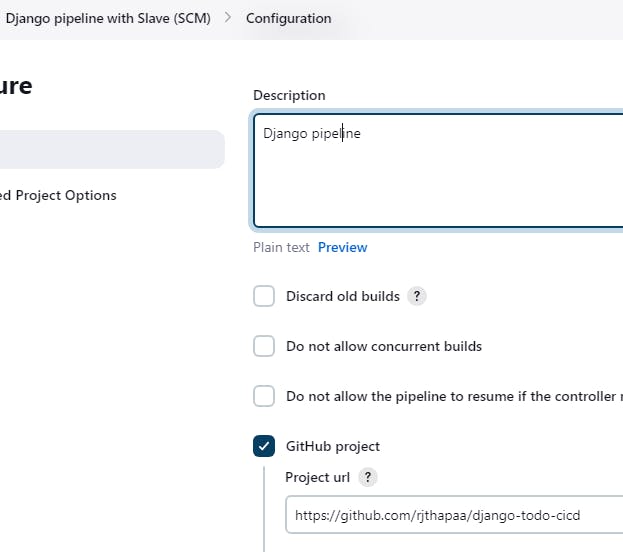
Create a Pipeline project
Add a description and select a GitHub project
Under the Pipeline section select it as Pipeline script from SCM
Here we are taking a Jenkinsfile with a script from Github and directly running it to deploy without writing a Script
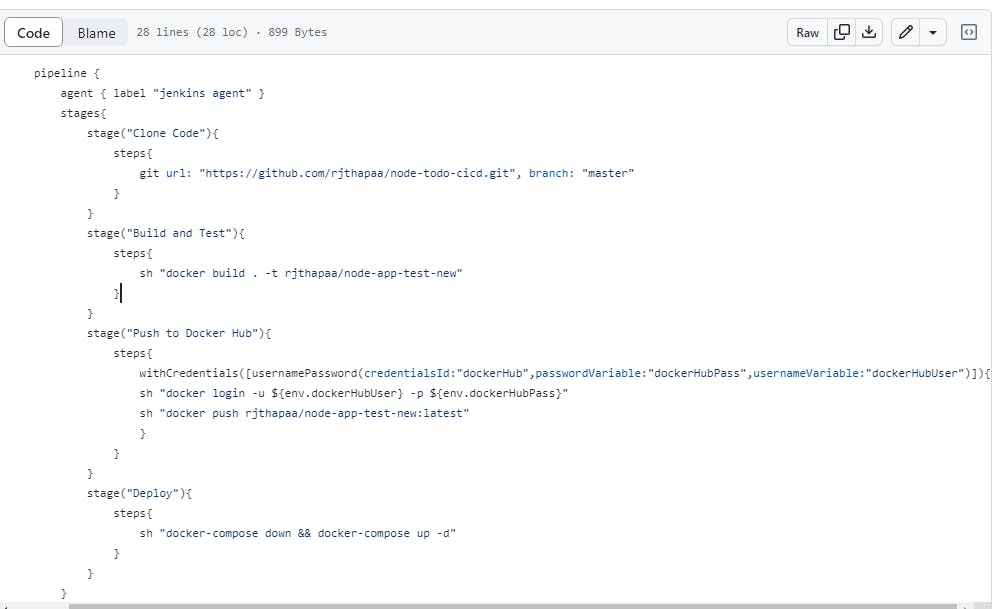
Jenkins file from repo
Here is the file we are doing the following things
Cloning the code from git
Building a Docker image with a tag based on a Docker file
Pushing the newly created image Dockerhub by docker login
To provide the docker login details we need to create an environment
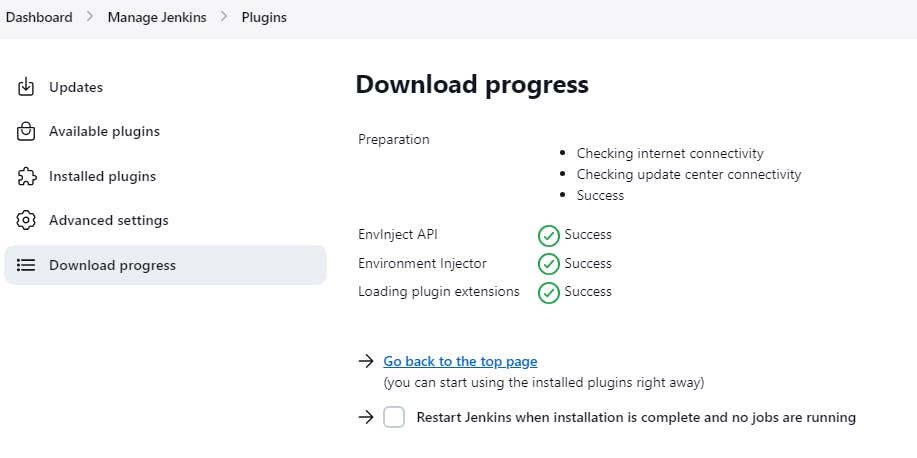
So go to Manage Jenkins > Available plugins > Environment Injector > Install without restart
Now we need to Setup an environment for our Dockerhub credentials
Manage Jenkins > Credentials > Global - Add credentials
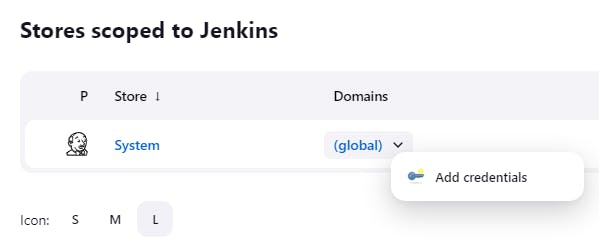
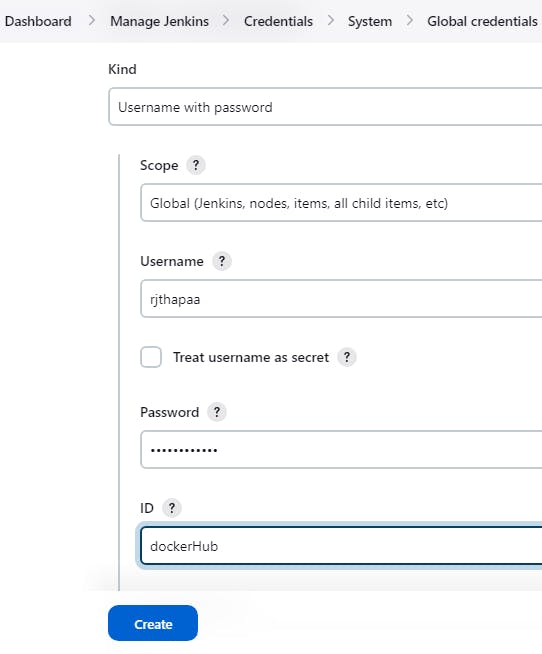
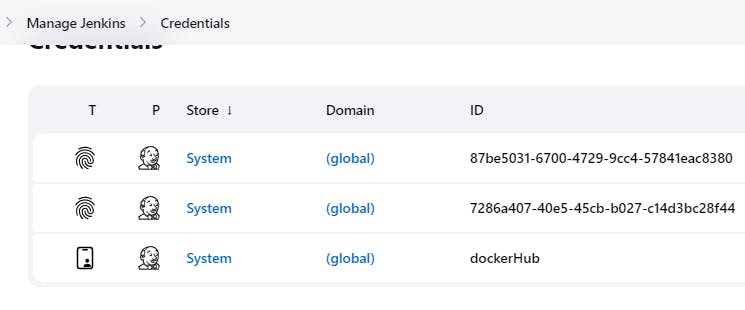
Now create an environment for docker hub credentials in Credential Manager and click on create
Now get back to the pipeline project and click Build now
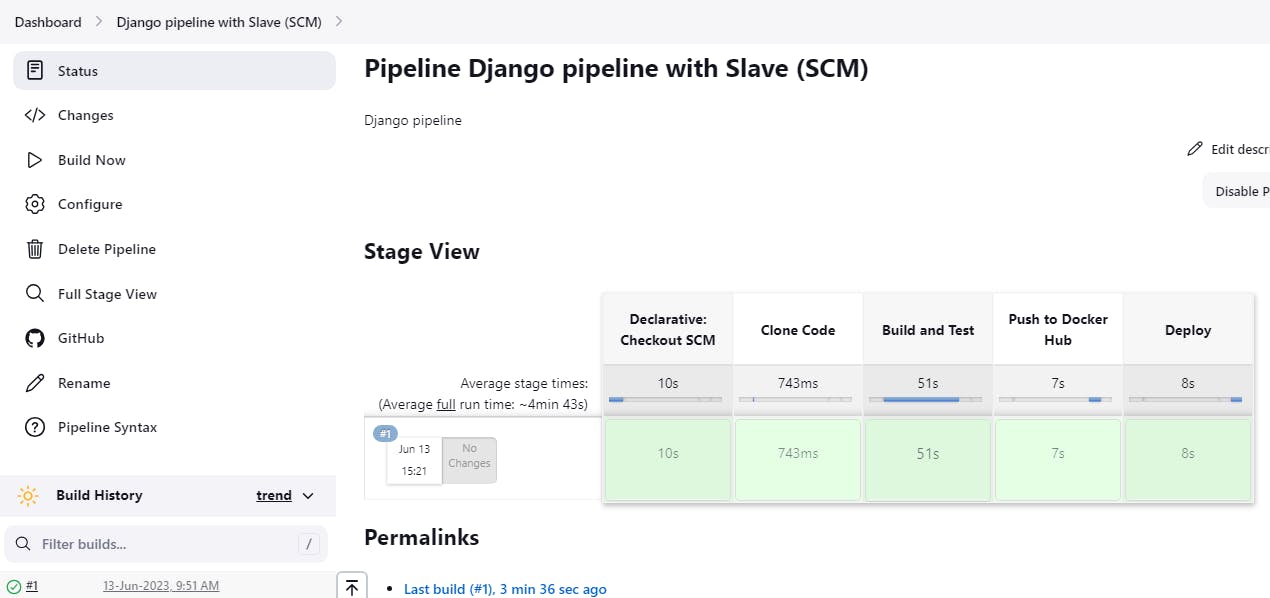
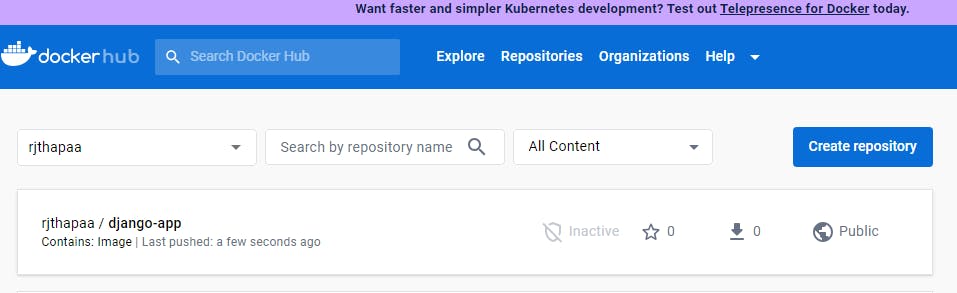
Image pushed into docker hub
Access the Django application