

Create an EC2 instance (Amazon Linux 2 AMI) and connect to it.
Clone this repo to the EC2 instance
git clone https://github.com/rjthapaa/CICD_CRUD-APP-NODEJS-.git

CodeCommit
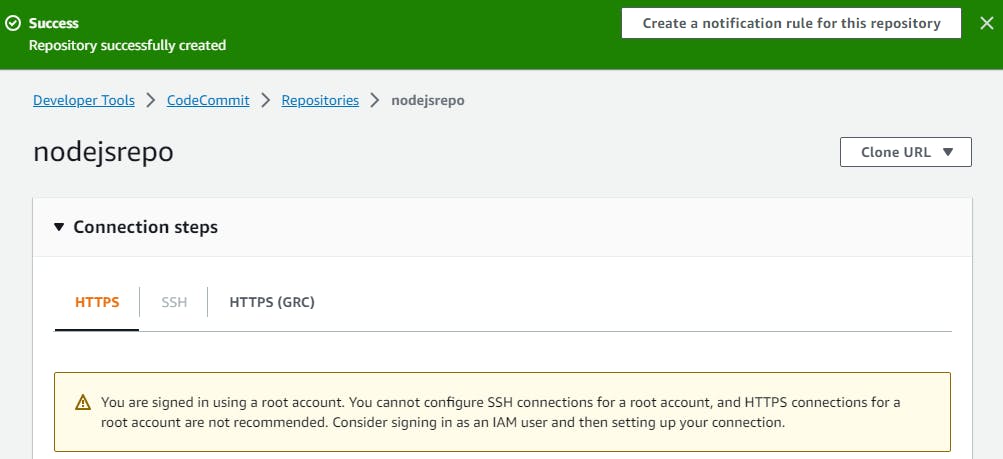
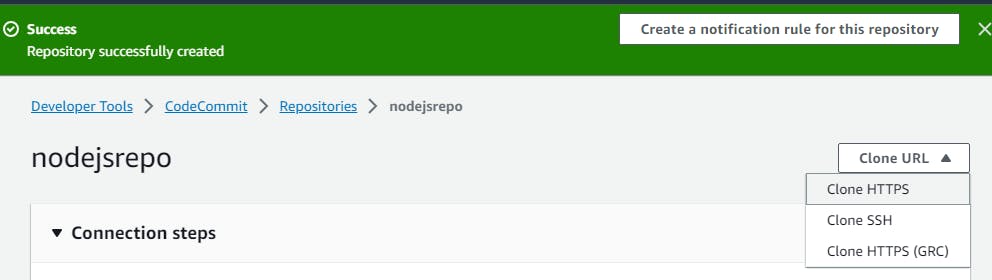
Navigate to AWS Console > CodeCommit and create a new repo
This repo cannot be accessed or configured using the root account, so we have to create a new IAM user and configure it
IAM USER
Navigate to IAM > Users
You can create a new user by clicking Add Users
Give him an AWSCodecommitPowerUser Policy permissions
Click on Create user
Attach the below policy
AWSCodeCommitPowerUser
Once the IAM user is created under security credentials generate Access keys and HTTPS Git credentials for AWS CodeCommit
Access keys are used to connect as a User to the AWS console through AWS CLI and HTTPS Git cred for cloning and pushing the code to AWS CodeCommit.
EC2 instance
Connect to the instance and start installing AWS CLI.
$ curl "https://awscli.amazonaws.com/awscli-exe-linux-x86_64.zip" -o "awscliv2.zip"
sudo yum install unzip
unzip awscliv2.zip
sudo ./aws/install
aws --version
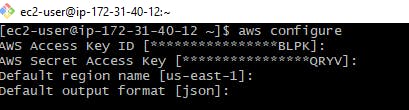
Configure the CLI in the instance
aws configure
Configure the Access and Secret keys that we generated from the IAM user
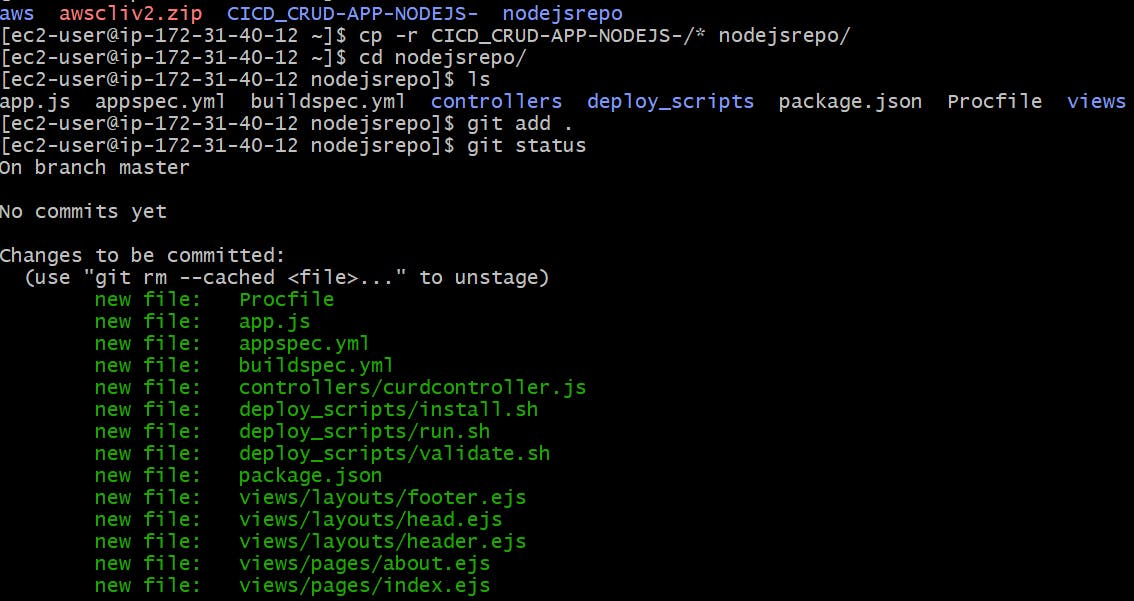
Now clone the repository from CodeCommit to the instance
Copy the HTTPS link from the repo
On the EC2 instance use the git clone command to clone the repo
git clone <HTTPS url>
Provide the HTTPS creds, we downloaded for the IAM USER to clone.
Once it is a successful empty repository from CodeCommit is cloned into the Instance.

Now copy all the files from CICD_CRUD-App files into nodejsrepo and commit it.
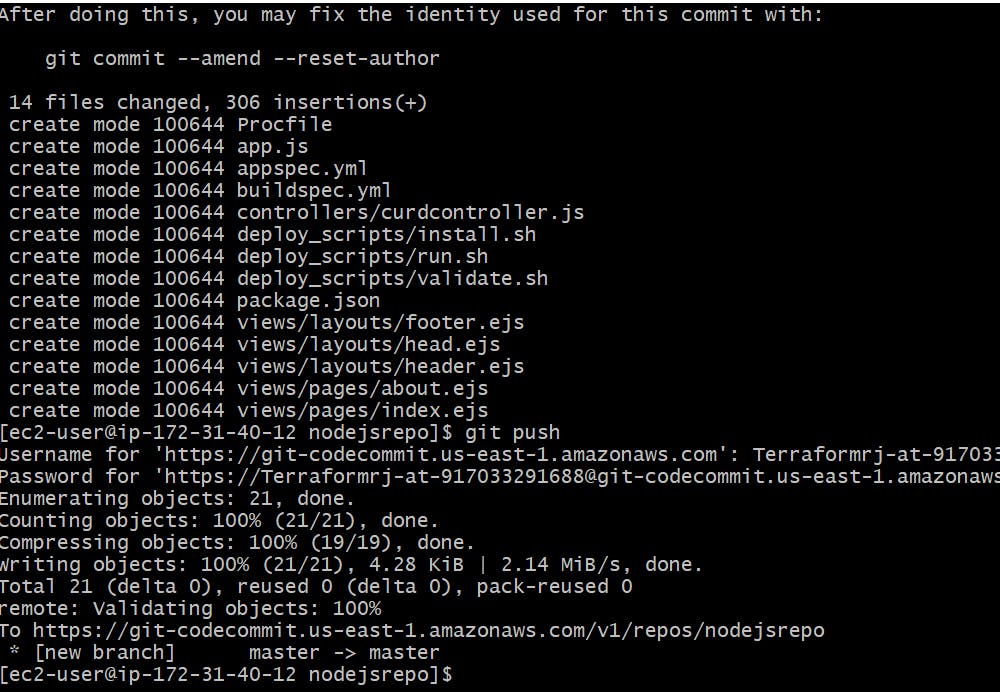
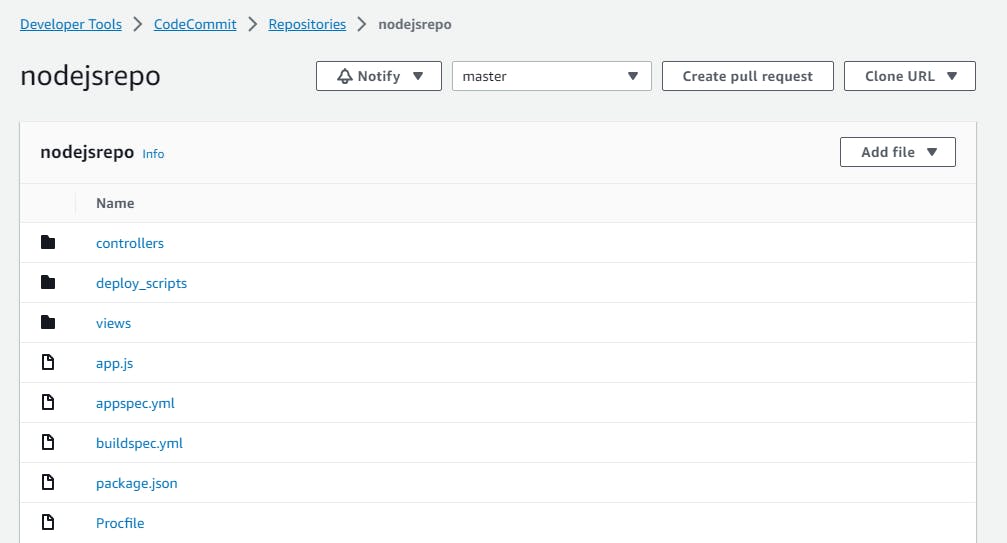
Now check the AWS CodeCommit repository
CodeBuild
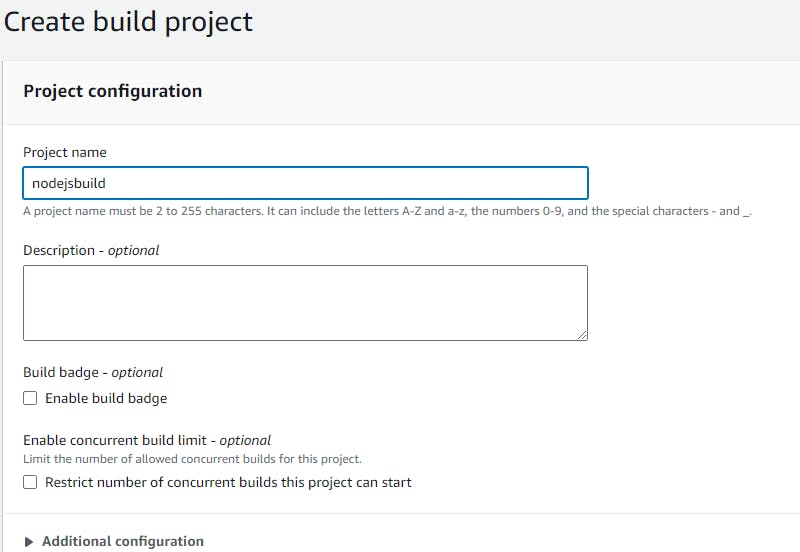
Go to CodeBuild and click on Create Project
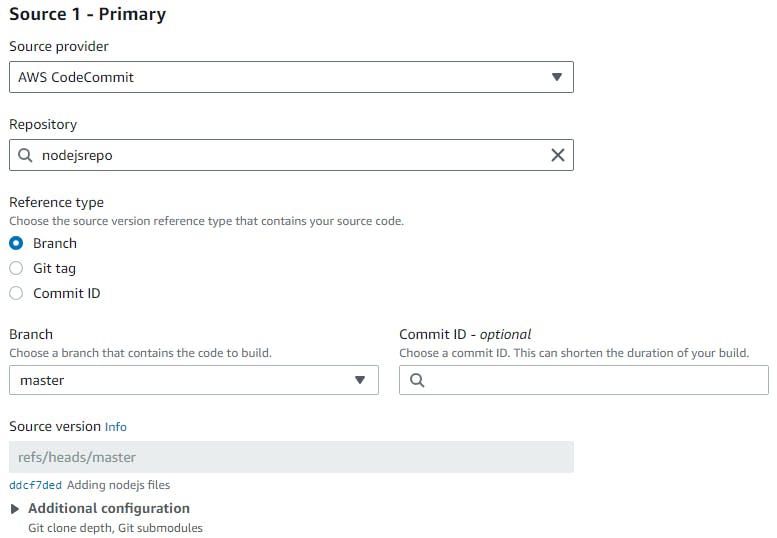
Codebuild will be built from the CodeCommit repo files only
Provide the source details AWS CodeCommit and Repo/branch details
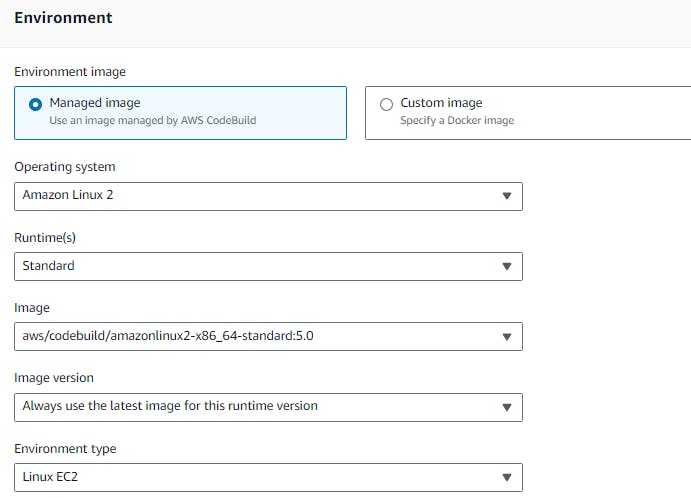
Update the OS and Environment type
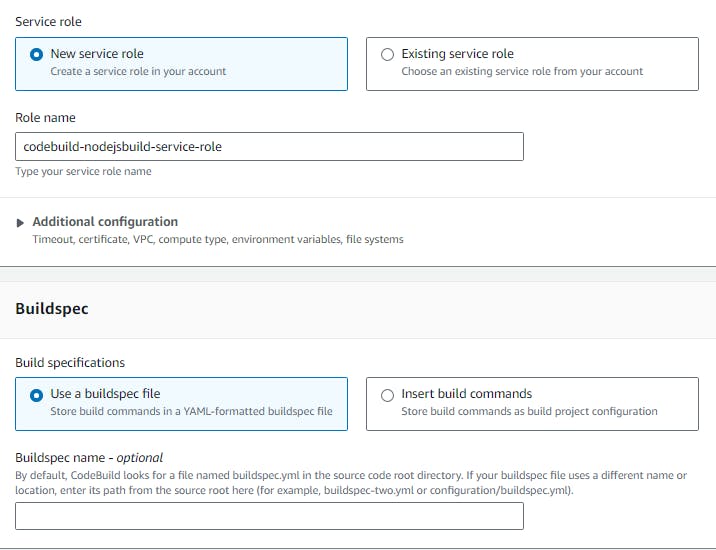
We need to create a service role so that CodeBuild can communicate with CodeCommit, CodeDeploy, S3, artefact and other resources
Select New service role and the Role name will be automatically provided
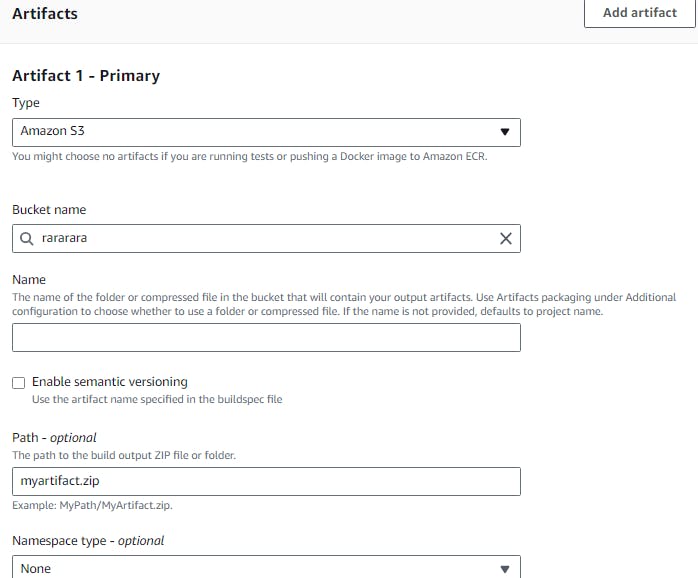
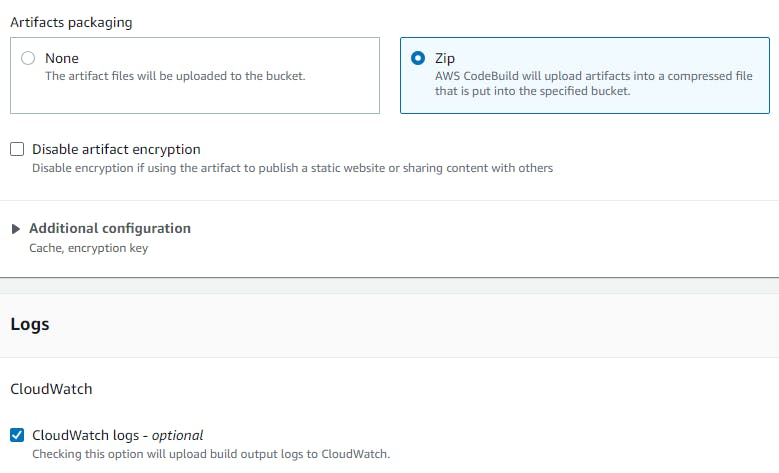
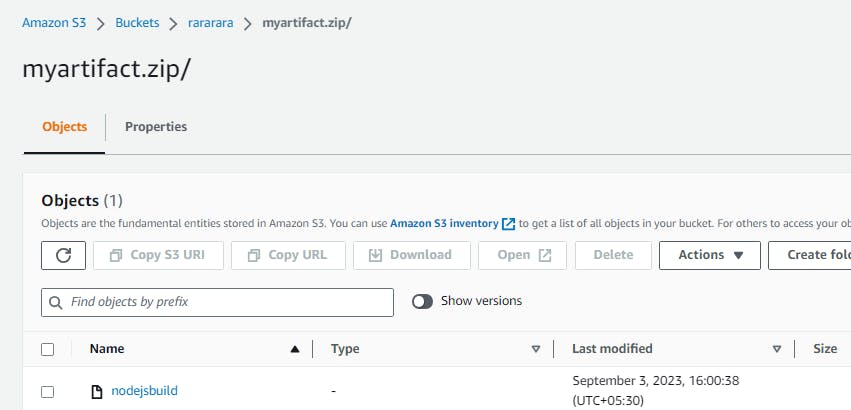
Artifacts are the storage location of our S3 bucket.
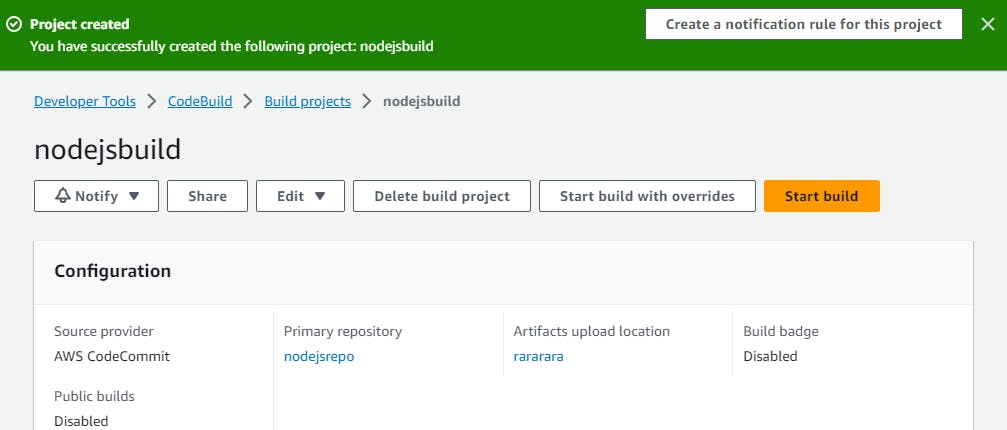
That's it Click Create Build Project.
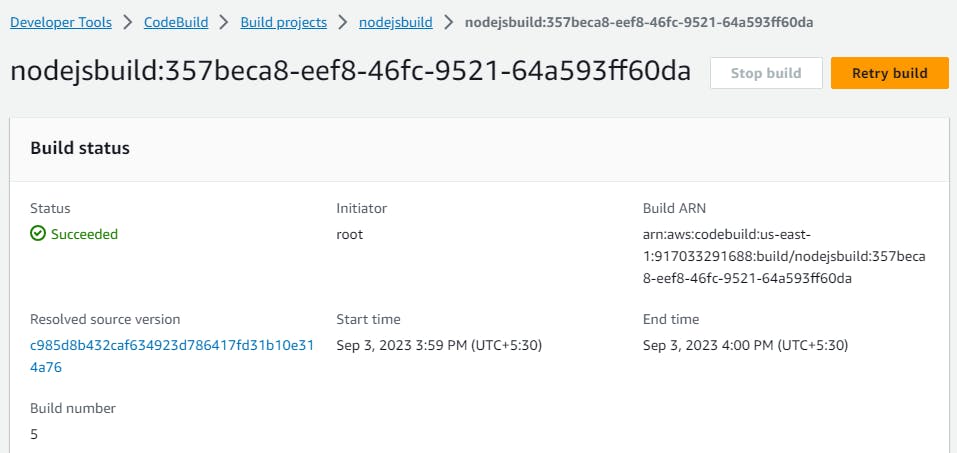
Let's start the Start Build now
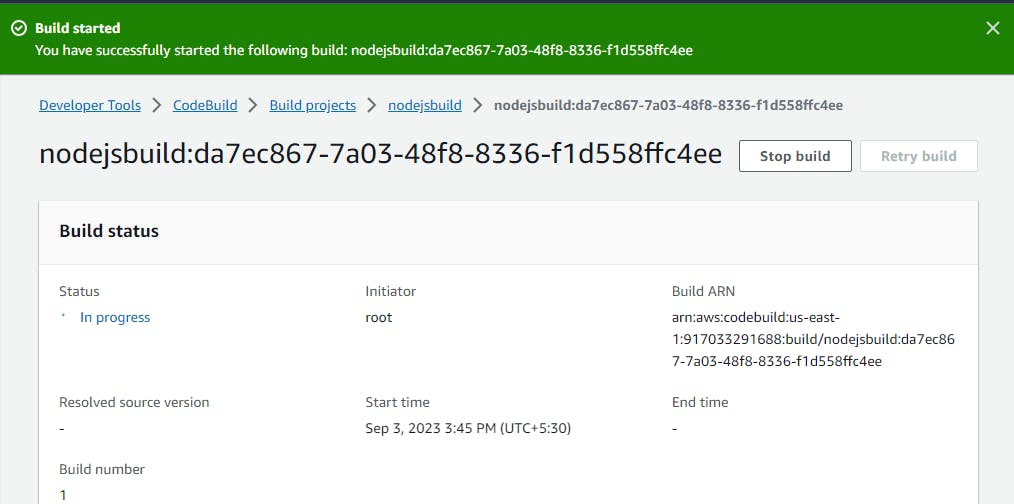
Build is success

Check the artifacts in S3 Bucket
CodeDeploy
We will be deploying the application with the help of CodeDeploy, for that we need EC2 with sufficient privileges and a code deploy agent installed. We also need an application package in the form of a Zip in S3 bucket.
For Code Deploy we need appspec.yml and deploy script
Deploy agent needs to be installed first on the EC2 instance, before installing the Agent, we need to create an IAM role for the EC2 instance and attach it.
Once the role is created, go to the EC2 instance and select it. Click on> Actions > Security > Modify IAM role

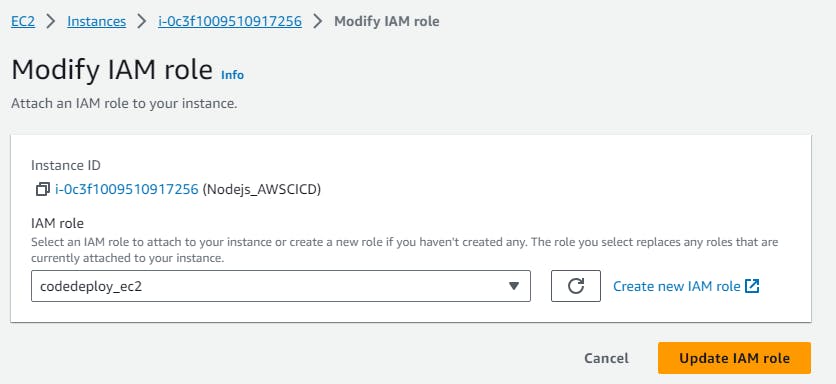
Click on Update IAM role
$ nano deployagent.sh
refer link
#!/bin/bash
sudo yum update
sudo yum install ruby
sudo yum install wget
cd /home/ec2-user
wget https://aws-codedeploy-us-east-1.s3.us-east-1.amazonaws.com/latest/install
chmod +x ./install
sudo ./install auto
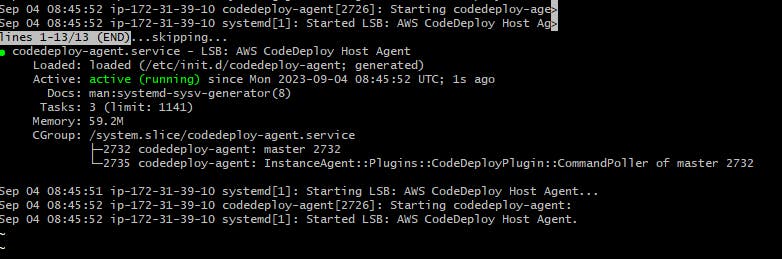
sudo service codedeploy-agent status

Agent is running successfully on instance
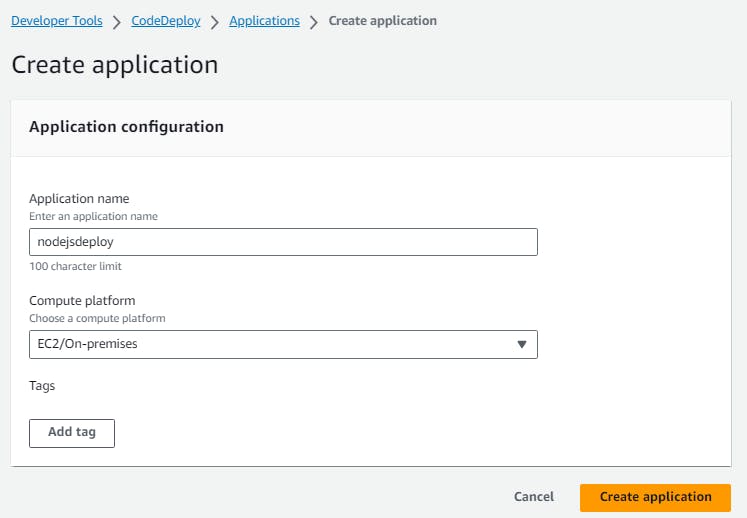
Code Deploy
Click on Create application and provide the details
Click on Create application.
Application is created and now we should create a deployment group
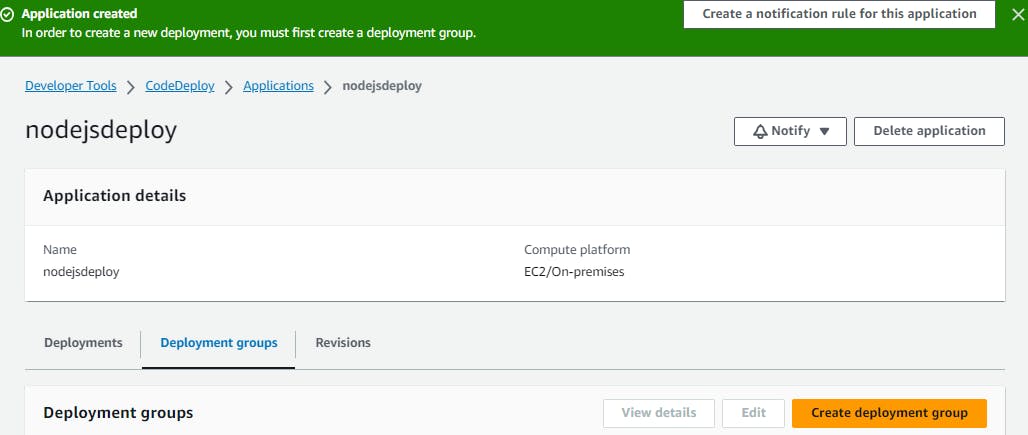
To run or deploy one or more applications on multiple servers we need a deployment group
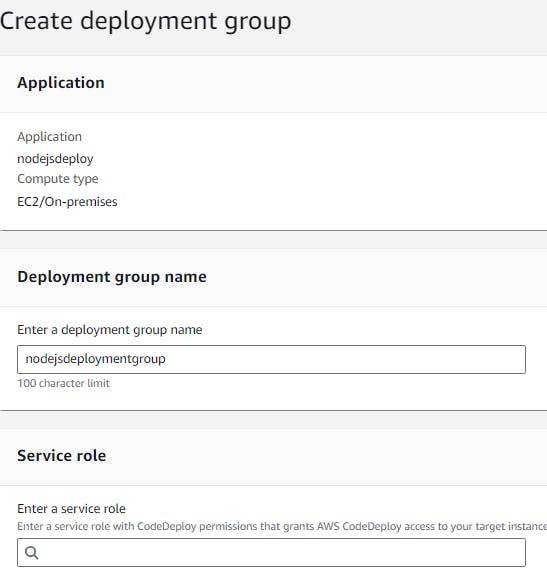
Click on Create Deployment Group, give it a name
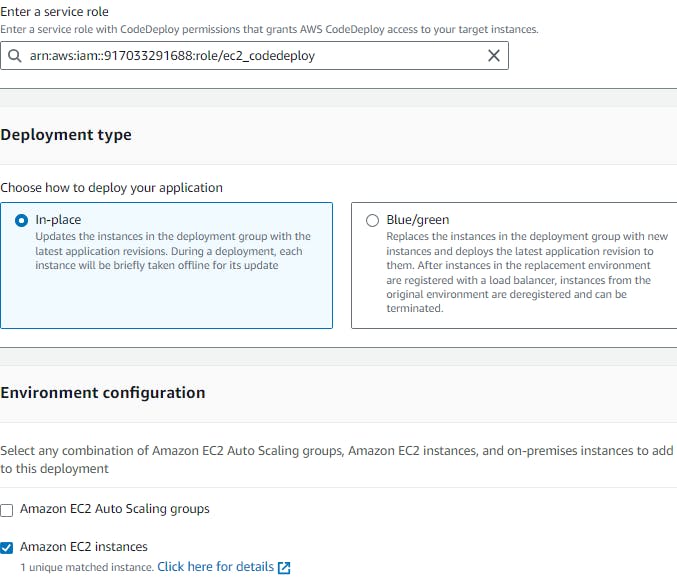
Under service role, we need to create a new role and attach it here
Let's navigate to IAM and create a role code-deploy-service-role with the below permissions (AWSCodeDeployRole)
Once the role is created get back to CodeDeploy You will be able to view a service role that we have created, select it
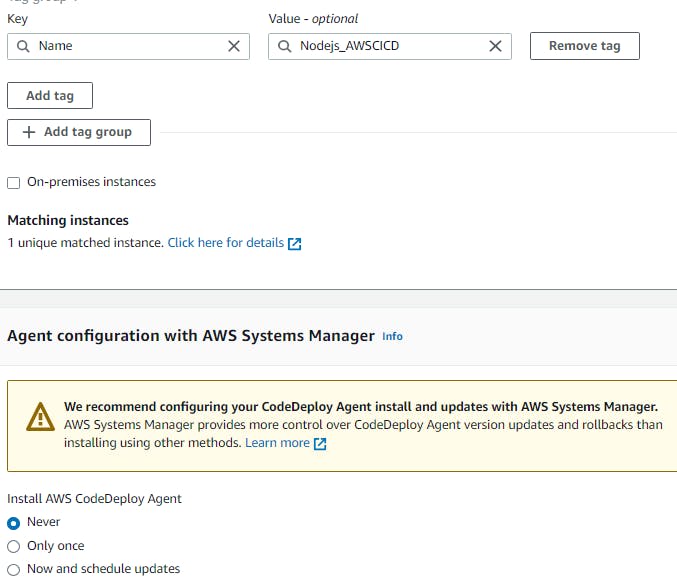
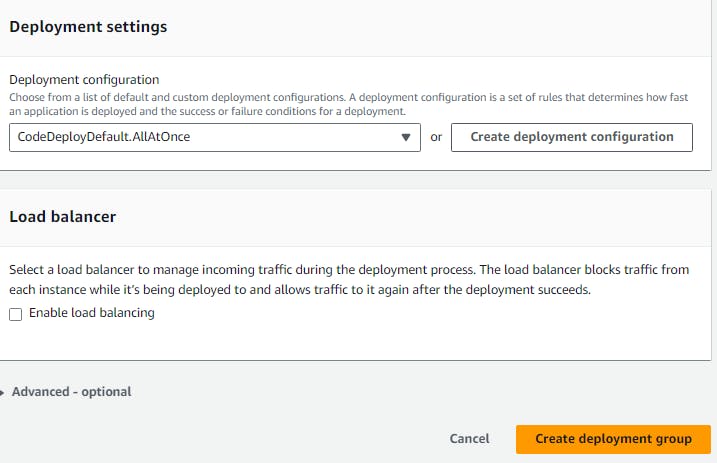
Click on Create Deployment group
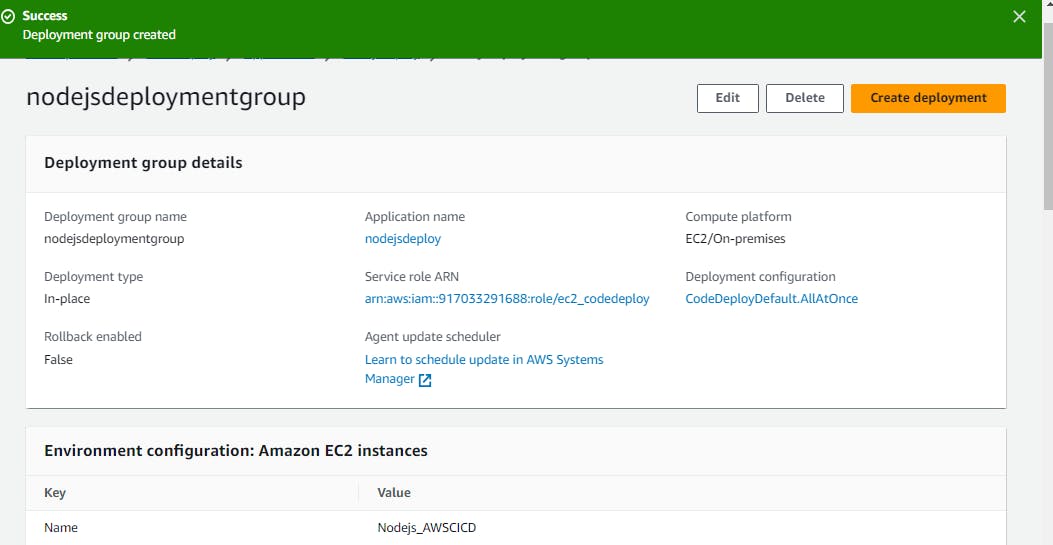
Deployment Group is created successfully, now we will create a deployment by clicking Create Depolyment
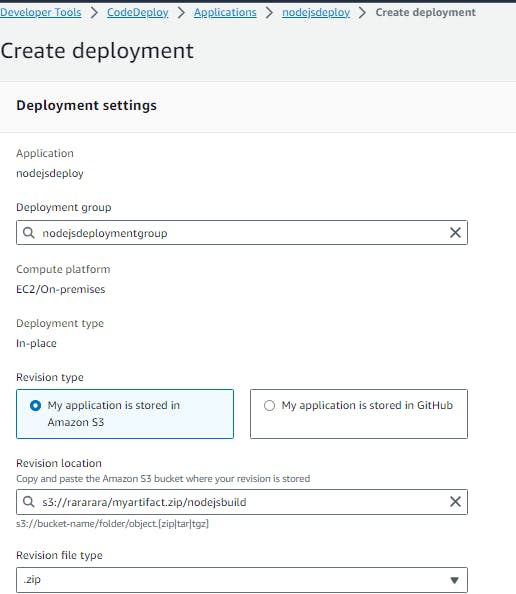
Now move to the S3 bucket and make sure to make the project public
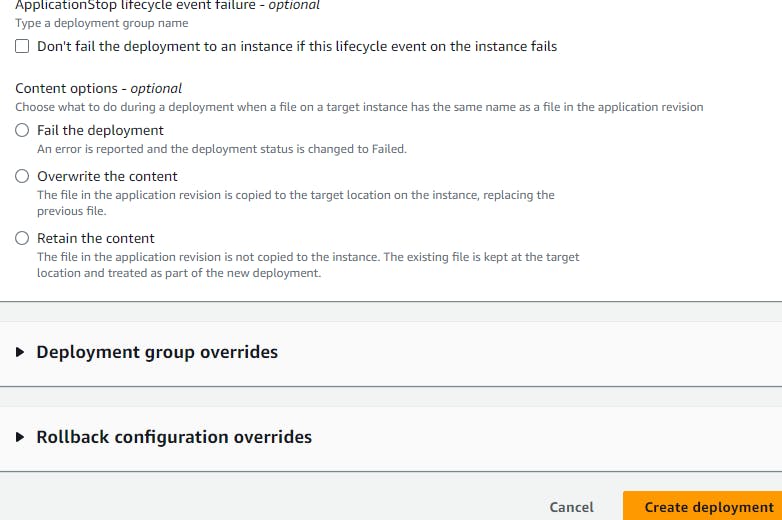
Leave the rest to default and click on Create deployment (Make sure to check the agent status)

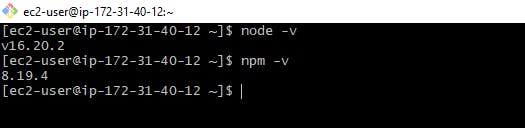
Make sure you install nodejs 16 or 18 version on the EC2 instance
Refer link
sudo yum install https://rpm.nodesource.com/pub_16.x/nodistro/repo/nodesource-release-nodistro-1.noarch.rpm -y
sudo yum install nodejs -y

Click on View Events to check the status of the events
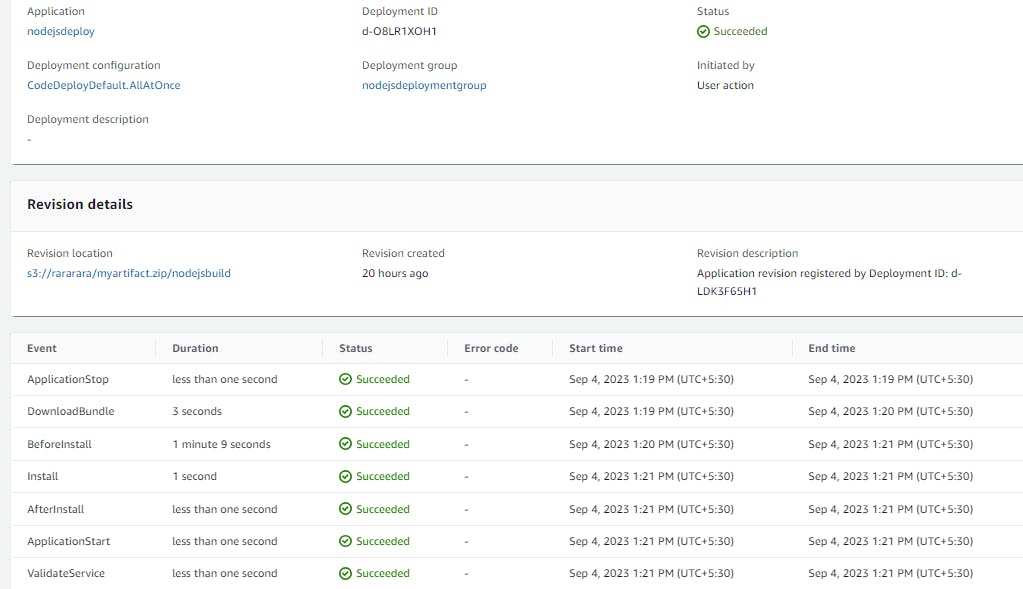
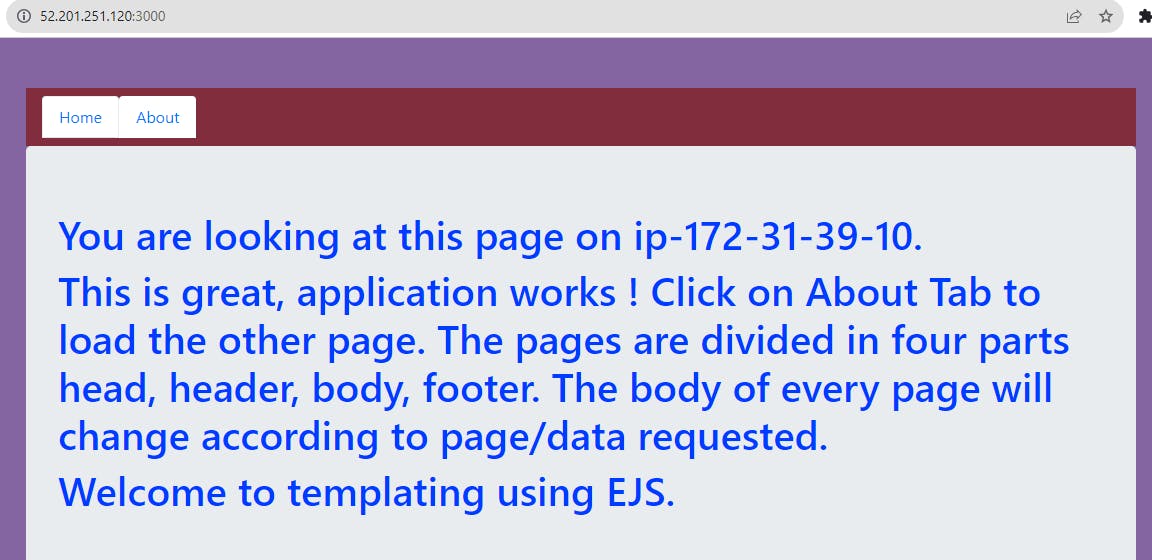
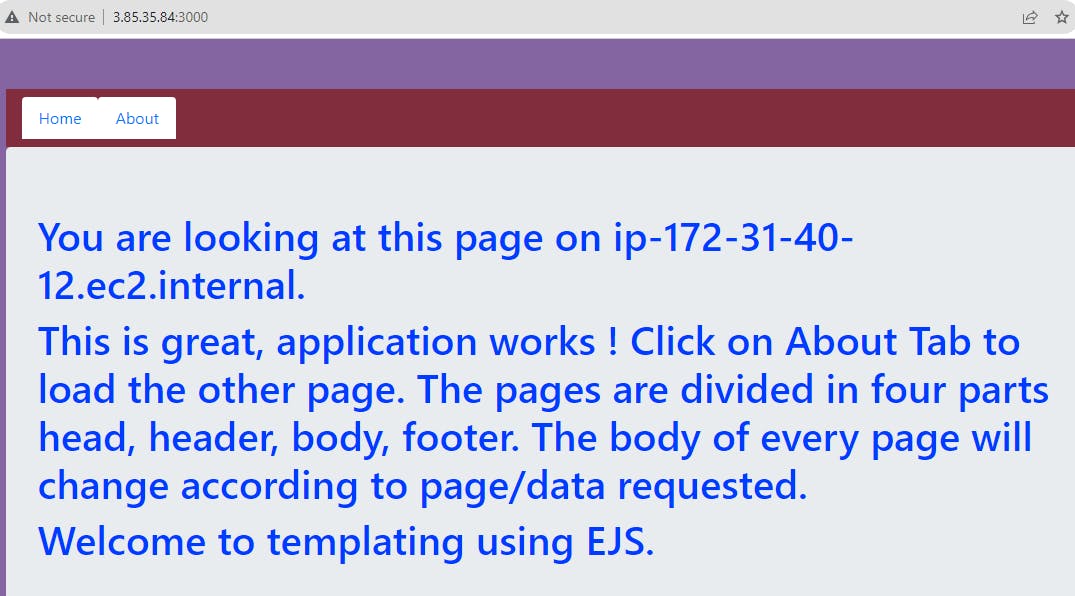
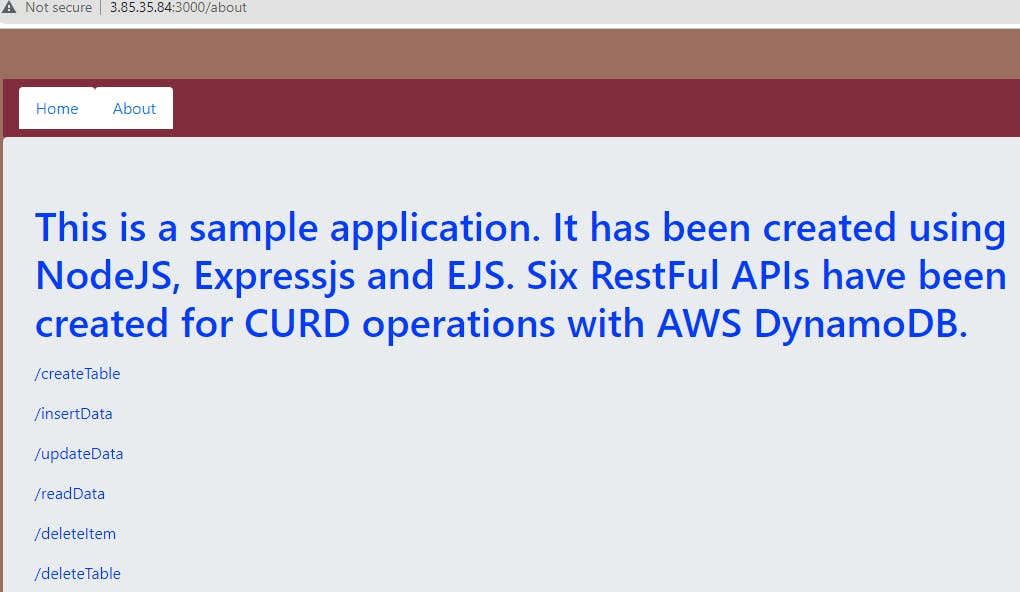
Our deployment is successful, let's check our application using EC2 instance publicIP:3000
Learn AWS Continuous integration
On Ubuntu20
refer link
Git link https://github.com/rjthapaa/CICD_CRUD-APP-NODEJS_Ubuntu20.git
#!/bin/bash
sudo apt update
sudo apt install ruby
sudo apt install wget
cd /home/ubuntu
wget https://aws-codedeploy-us-east-1.s3.us-east-1.amazonaws.com/latest/install
chmod +x ./install
sudo ./install auto
sudo service codedeploy-agent start
sudo service codedeploy-agent status
Attach the IAM role to EC2 before installing the deploy agent and run the script
pm command not found issue
sudo apt install npm
sudo npm install -g pm2