
Day 48 - Amazon Elastic Container Service (ECS) with Amazon Elastic Container registry (ECR)


What is ECS?
- ECS (Elastic Container Service) is a fully-managed container orchestration service provided by Amazon Web Services (AWS). It allows you to run and manage Docker containers on a cluster of virtual machines (EC2 instances) without having to manage the underlying infrastructure.
With ECS, you can easily deploy, manage, and scale your containerized applications using the AWS Management Console, the AWS CLI, or the API. ECS supports both "Fargate" and "EC2 launch types", which means you can run your containers on AWS-managed infrastructure or your own EC2 instances.
ECS also integrates with other AWS services, such as Elastic Load Balancing, Auto Scaling, and Amazon VPC, allowing you to build scalable and highly available applications. Additionally, ECS has support for Docker Compose and Kubernetes, making it easy to adopt existing container workflows.
Overall, ECS is a powerful and flexible container orchestration service that can help simplify the deployment and management of containerized applications in AWS.
Amazon Container Registry
Amazon Elastic Container Registry (Amazon ECR) is an AWS-managed container image registry service that is secure, scalable, and reliable. Amazon ECR supports private repositories with resource-based permissions using AWS IAM.
Difference between EKS and ECS?
- EKS (Elastic Kubernetes Service) and ECS (Elastic Container Service) are both container orchestration platforms provided by Amazon Web Services (AWS). While both platforms allow you to run containerized applications in the AWS cloud, there are some differences between the two.
Architecture: ECS is based on a centralized architecture, where there is a control plane that manages the scheduling of containers on EC2 instances. On the other hand, EKS is based on a distributed architecture, where the Kubernetes control plane is distributed across multiple EC2 instances.
Kubernetes Support: EKS is a fully managed Kubernetes service, meaning that it supports Kubernetes natively and allows you to run your Kubernetes workloads on AWS without having to manage the Kubernetes control plane. ECS, on the other hand, has its orchestration engine and does not support Kubernetes natively.
Scaling: EKS is designed to automatically scale your Kubernetes cluster based on demand, whereas ECS requires you to configure scaling policies for your tasks and services.
Flexibility: EKS provides more flexibility than ECS in terms of container orchestration, as it allows you to customize and configure Kubernetes to meet your specific requirements. ECS is more restrictive in terms of the options available for container orchestration.
Community: Kubernetes has a large and active open-source community, which means that EKS benefits from a wide range of community-driven development and support. ECS, on the other hand, has a smaller community and is largely driven by AWS itself.
In summary, EKS is a good choice if you want to use Kubernetes to manage your containerized workloads on AWS, while ECS is a good choice if you want a simpler, more managed platform for running your containerized applications.
Tasks :
Set up ECS (Elastic Container Service) by setting up Nginx on ECS.
Step 1: Creating an ECS Cluster
Navigate to ECS in the AWS console and click on Create cluster
Provide the name of the Cluster and attach the VPC & subnets.
This cluster will use the Cluster name as its default namespace.


We will be using AWS Fargate, as It is a serverless architecture that auto-scales our infra based on the requirement.

Leave the rest to defaults and click on Create

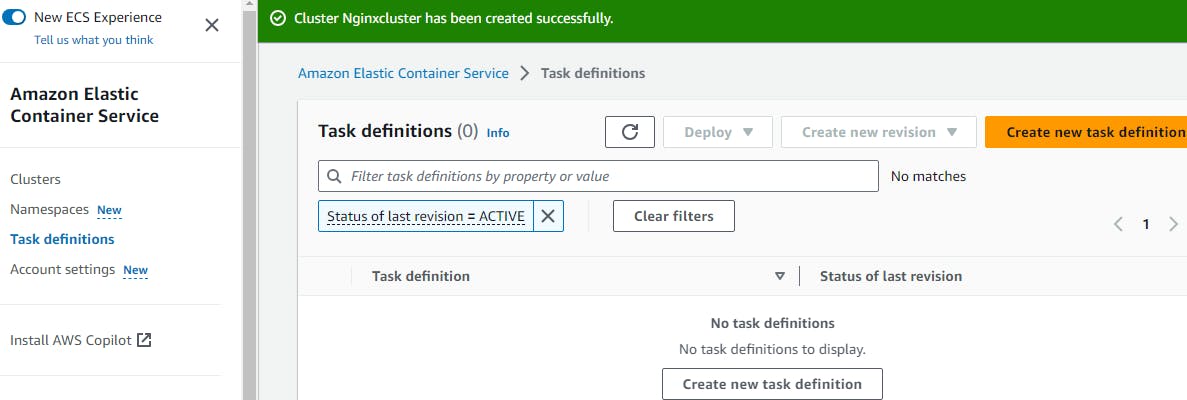
Nginxcluster is successfully created and No tasks are running.
Step 2: Creating Task definitions
Navigate to Task definitions > Create new task definition
Click on Create new task definition
Provide the task name and details of the container and Image URI for nginx
Use this public repo link


Since nginx runs on port no 80, no further changes are required

Click on Next
We will be using Fargate ( Serverless)


Click on Next
Review and click on Create

Now we have created Cluster and task definition, we need a service to access nginx
Step 3: Creating a Service
- Open the Cluster we created earlier and under services click on create


Provide the task name in Family and give it a service name


Make sure you enable port in security groups

and click on Create

Nginx service is successfully created and deployed.
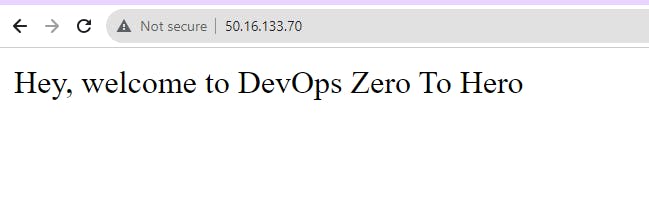
To access the Nginx
Open the Cluster and click on Tasks. Under it, there will be a running task open it and you will find a public IP in the configuration section


Use the PublicIP to access nginx

ECS (Elastic Container Service)with Flask-app
Step 1: Creating an ECS Cluster
Navigate to ECS in the AWS console and click on Create cluster
Provide the name of the Cluster and attach the VPC & subnets.
This cluster will use the cluster name as its default namespace.


We will be using AWS Fargate, as It is a serverless architecture that auto-scales our infra based on the requirement.
Leave the rest to defaults and click on Create


- Our ECS cluster is successfully created. Now we need to create an ECR Registry which is like a repo with Docker images and create a task under the task definitions and run it to deploy an application
(ECS Elastic Container Services) is like Docker, where we build our docker Image from the docker file and run the image to create a container.
Task definition is like the docker run command in (ECS Elastic Container Services)
ECR (Elastic container registry) is like a docker hub where we stored the newly created docker Images
Step 2: Creating Elastic Container registry
Navigate to Amazon ECR > Repositories > Create a repository
Choose the repo as private or public and give a it name.

- Select the content types and click on Create repository


- ECR repository is successfully created.
Step 3: Create an IAM USER and connect to the EC2 Instance. Build an Image and push it to ECR
Navigate to IAM and create an IAM user with proper policies to access ECS services.
Connect to the EC2 instance as the IAM user and Install docker as a prerequisite

Clone the repo from the GitHub using git clone command
git clone https://github.com/rjthapaa/flask-app-ecs.git

4. Navigate to ECR and open the repo that we created and click on view push commands

- Follow the steps as per the suggestion from the image and run it in the terminal


We have successfully created an IMAGE using a docker file and pushed it into the ECR repo

Now we have the Image, to run the images we need to create a task definition.
Step 3: Creating Task definitions
- Navigate to Task definitions > Create new task definition

Click on Create new task definition
Provide the container details and Image URI of the flask app from the ECR
Refer to the Image for image URI


review and click on create

Our task definition is created, and now we need to deploy it.
Click on Deploy > Run task

Choose the Cluster that we want to use


Under Networking, check the security inbound rules and enable port 80

Skip the next and click on Create
The cluster will now provision our task from the task definition and deploy the Flask application

Open the task that is running inside the cluster and access the public

This is how we run our ECS Cluster with ECR and task definition,
Thank you for your time. Happy Learning